Advertisment

Forum Index


Board index » All Posts (itssanjib)


itssanjib itssanjib
  • Hardware murderer
  • Hardware murderer
  • Posted on: 2015/7/21 12:06
Re: Making of Snow Lion #11
Hi, sorry for the long gap in updating the Build log due to some unavoidable circumstances.

After the completion with some new additions to the build here are the pictures, looking forward to the valued feedbacks, thanks in advance.

Resized Image

Resized Image

Resized Image

Resized Image

Resized Image

Resized Image

Resized Image

Resized Image


After the Snowy effects.... hoping it may become monotonous so added a RGB strip with controller to slowly change the colours ... here are some pictures of how it looks.. in different colours..

Resized Image

Resized Image

Resized Image

Resized Image

Resized Image Resized Image


itssanjib itssanjib
  • Hardware murderer
  • Hardware murderer
  • Posted on: 2015/5/27 18:14
Re: Making of Snow Lion #12
Quote:

rewarder wrote:
Great job itssanjib! This looks beautiful! I really like the front cover you made.

Any chance you could post some larger pictures?


Surely will put some large pics of the front panel .... Resized Image


itssanjib itssanjib
  • Hardware murderer
  • Hardware murderer
  • Posted on: 2015/5/25 10:34
Re: Making of Snow Lion #13
Now its time for the pics of some tryouts that I have done inside with some acrylic, to start with,

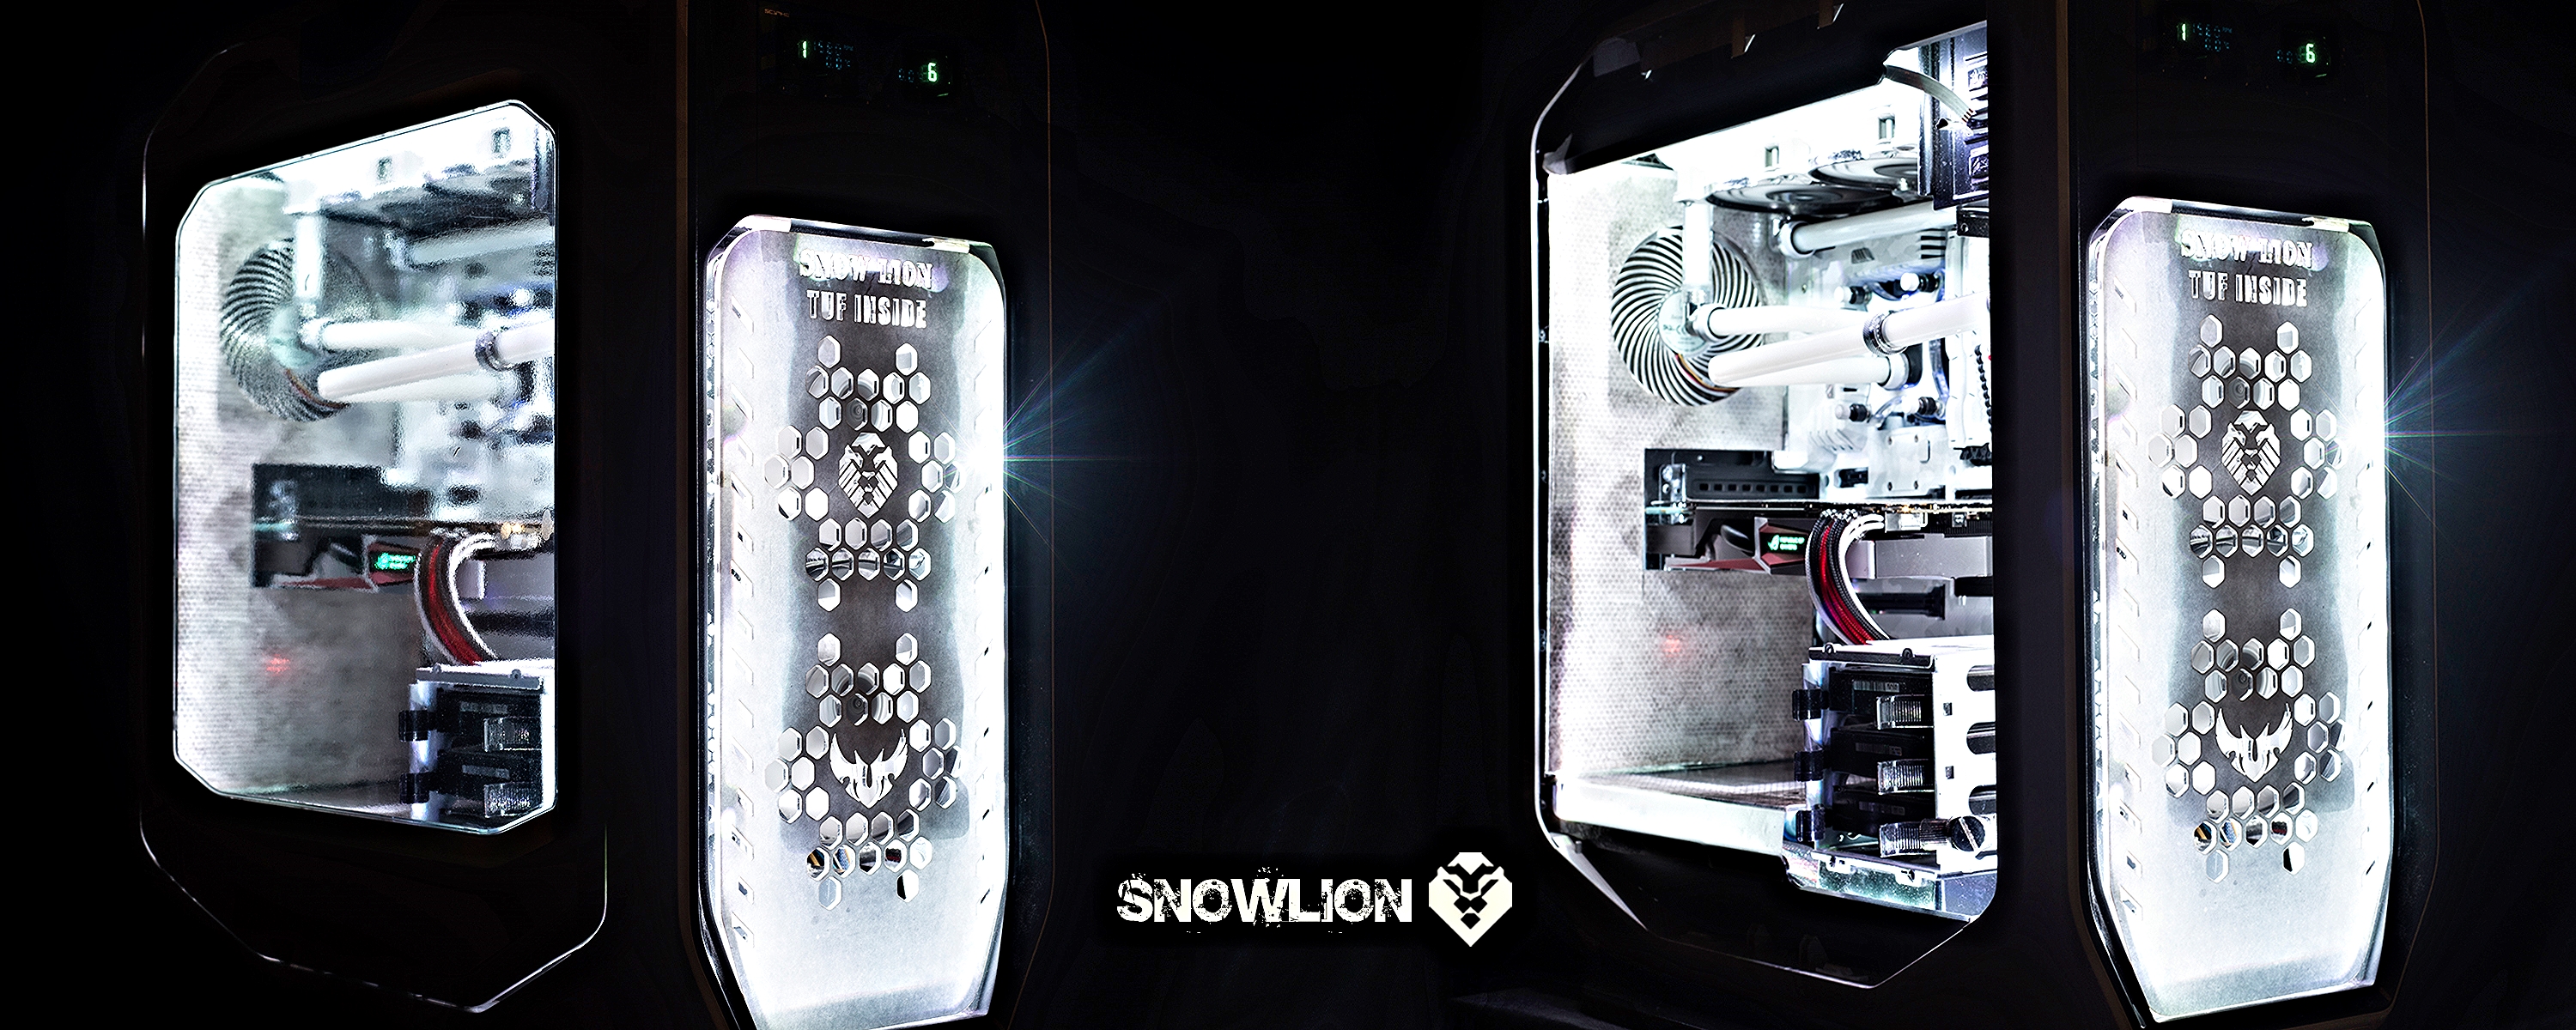
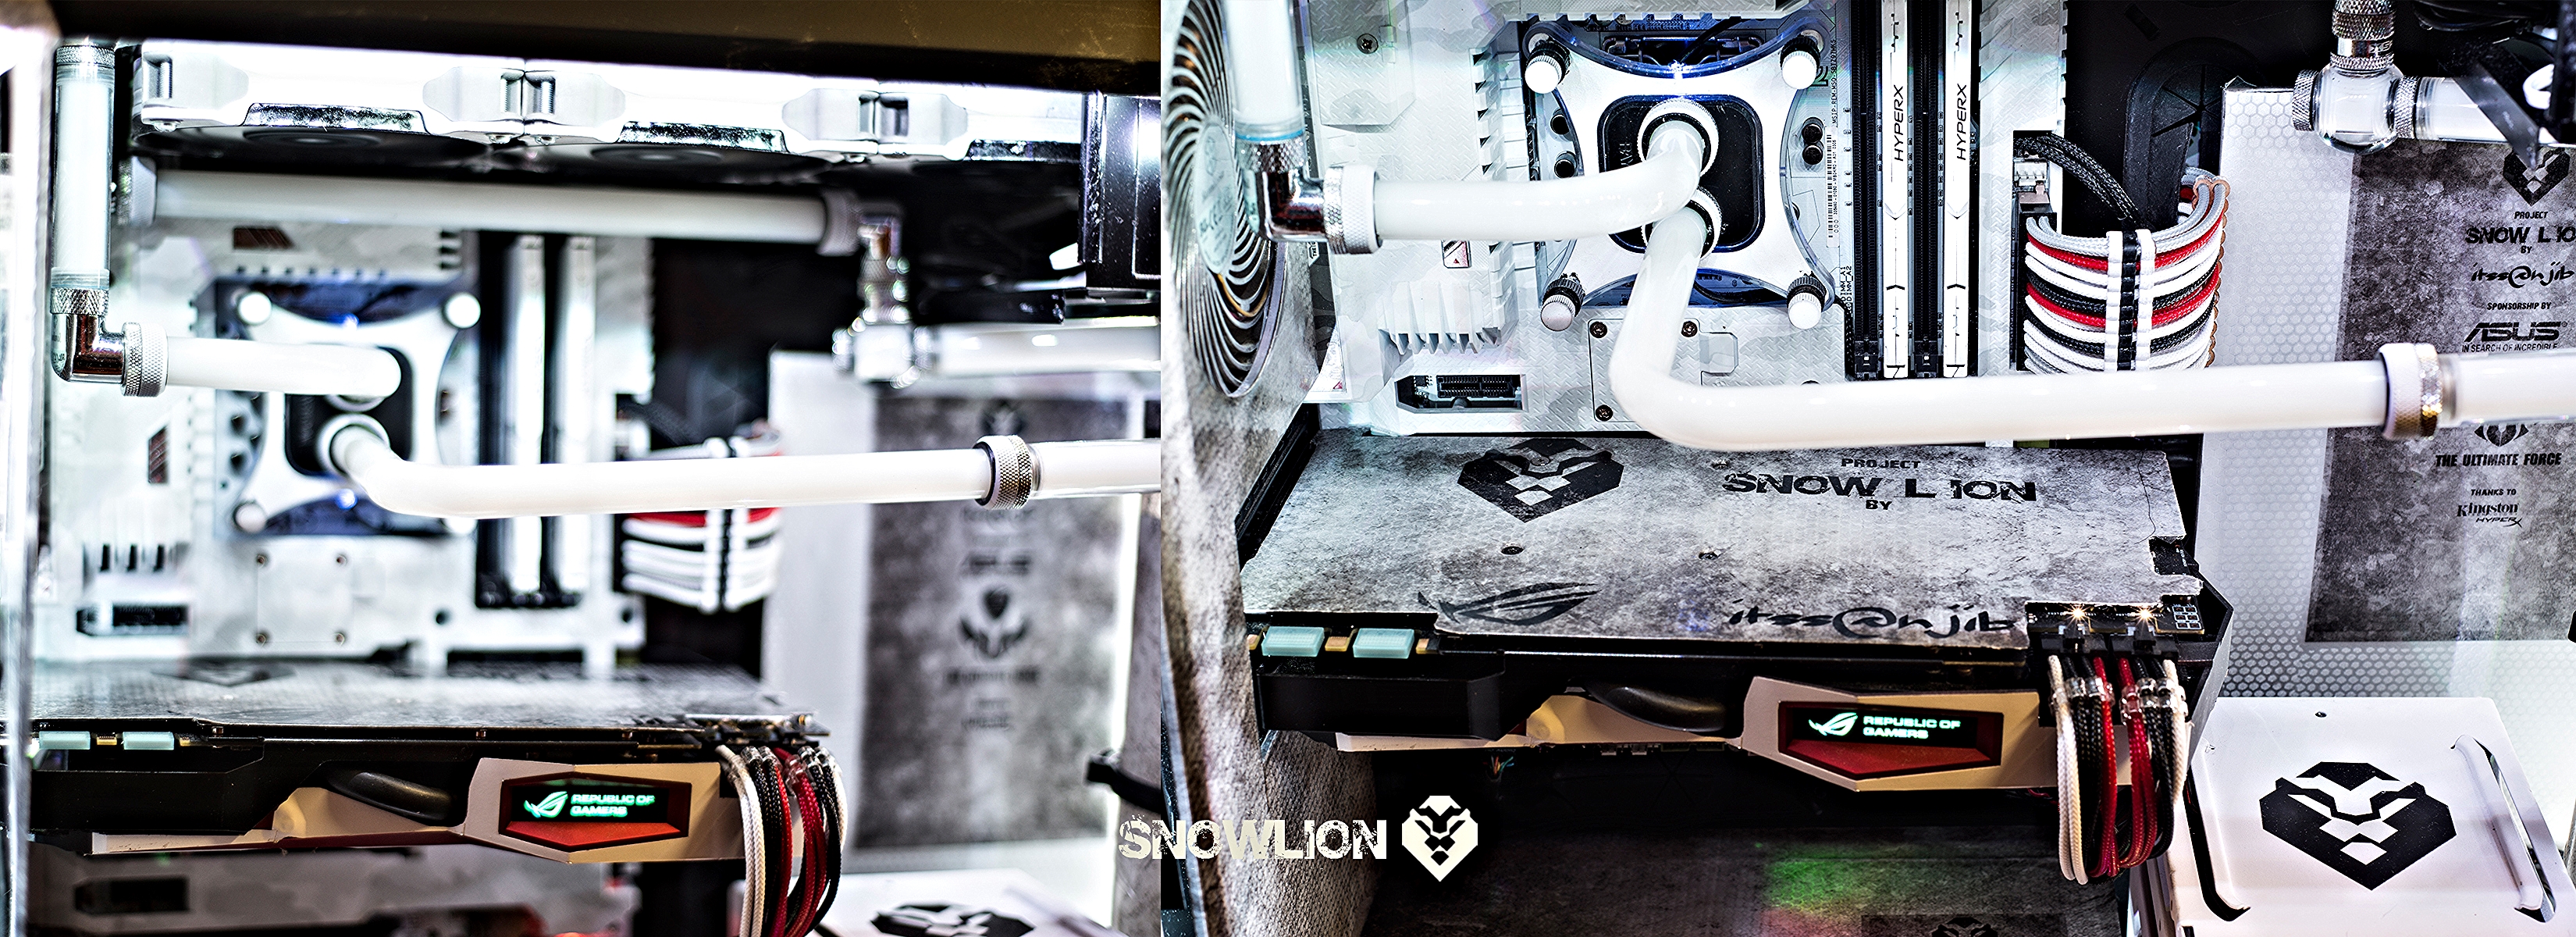
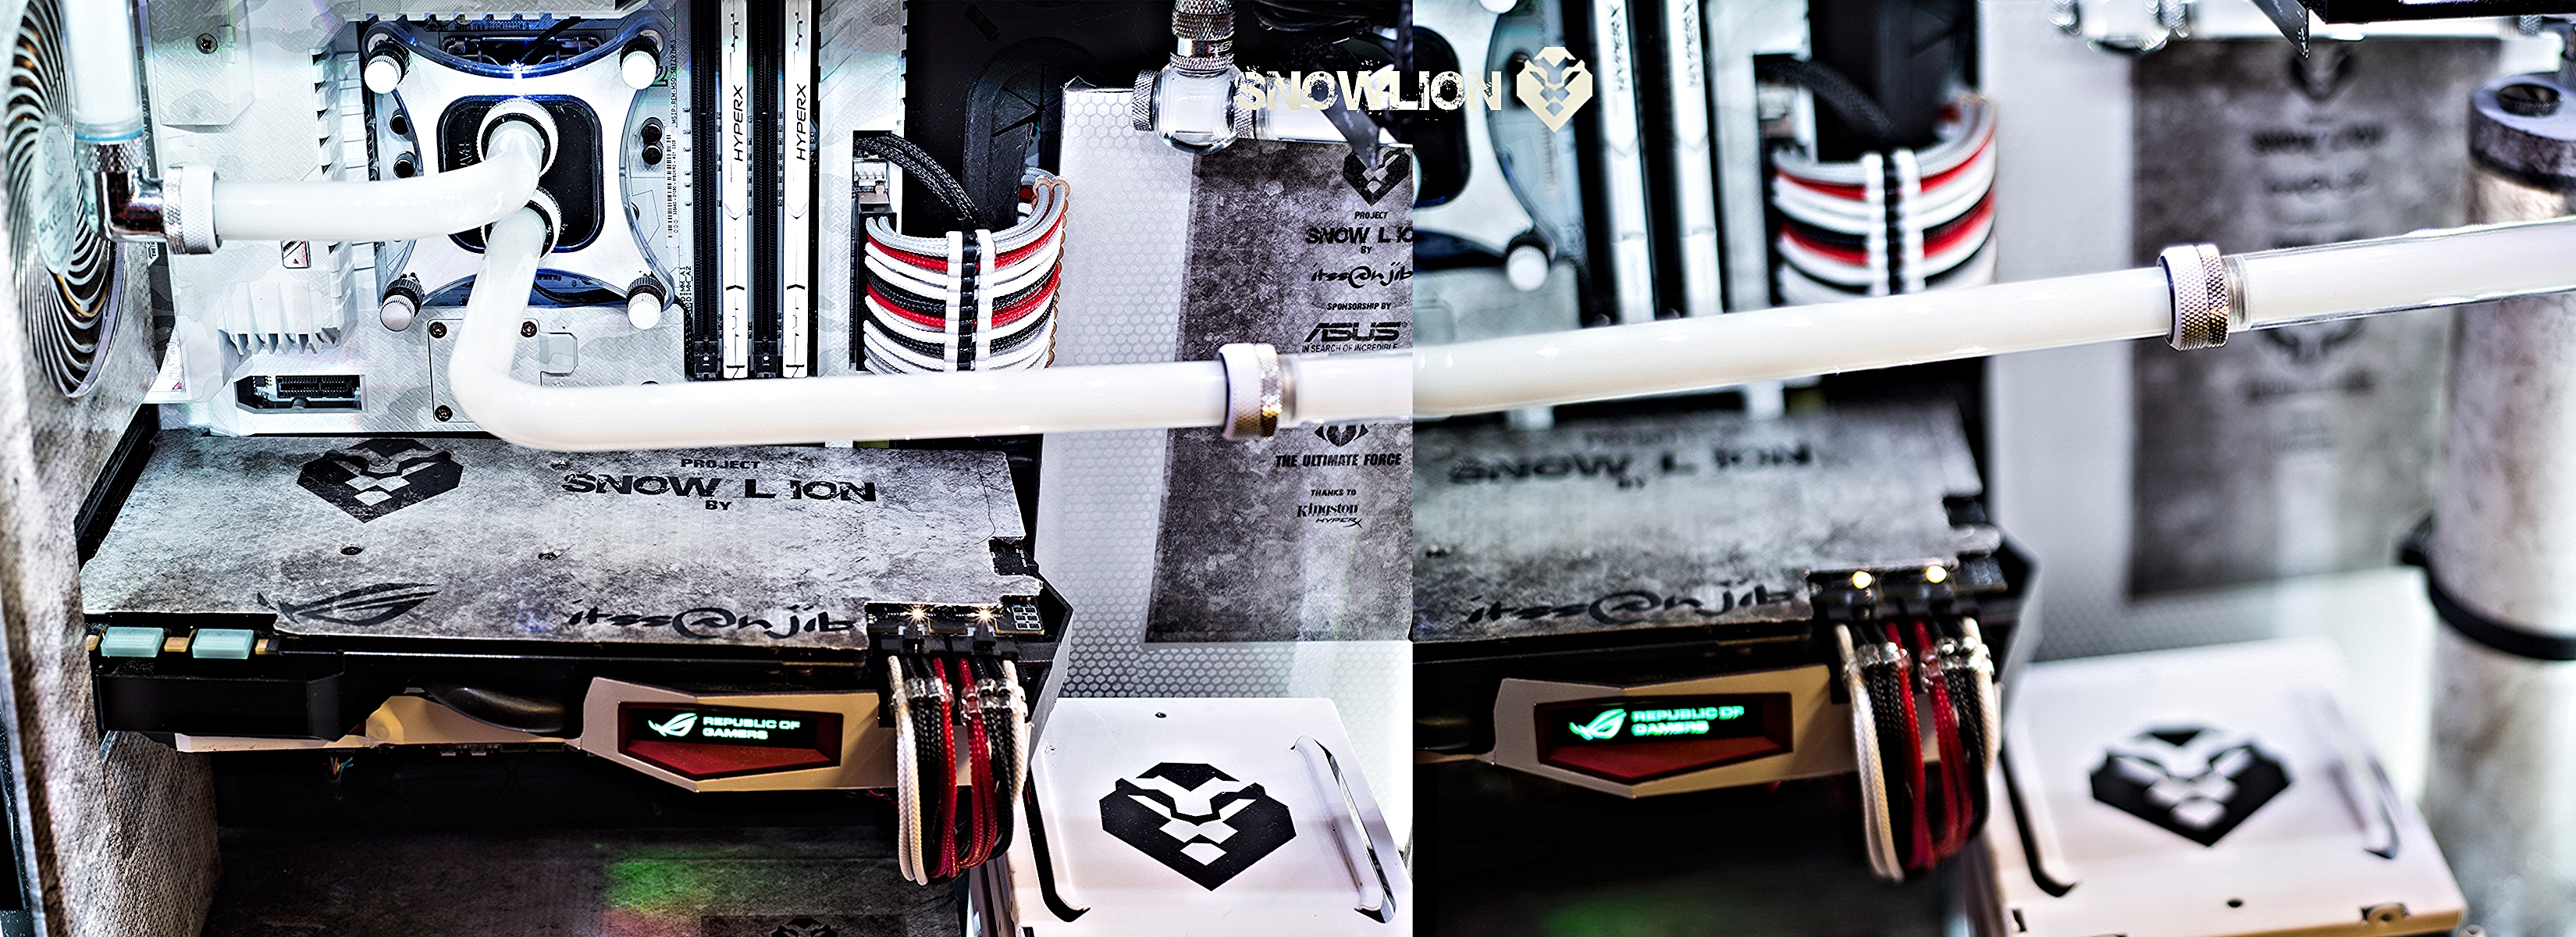
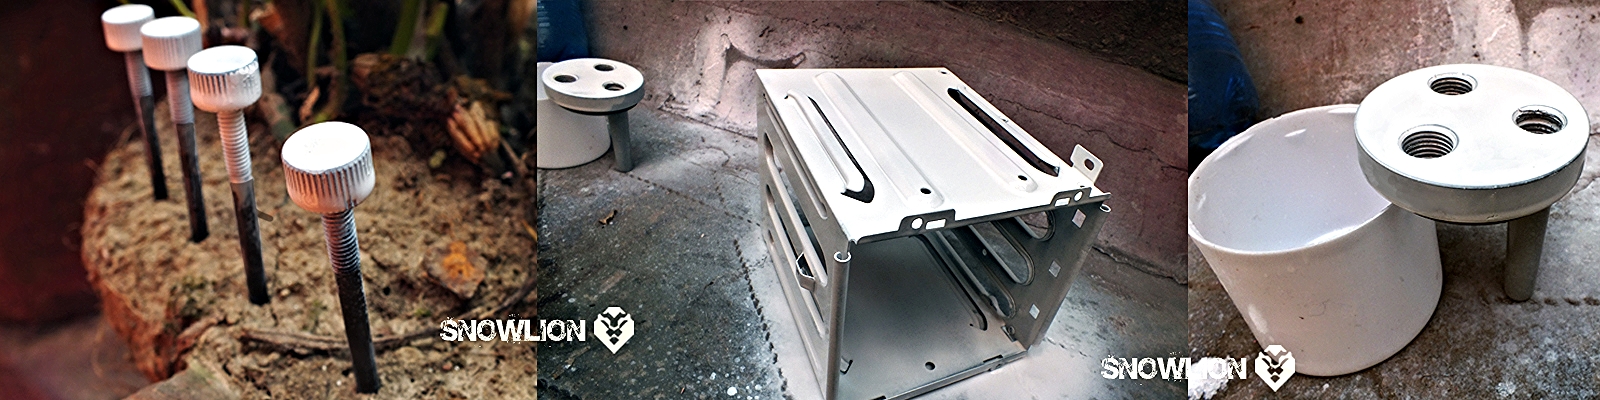
A psu cover- an acrylic sheet of 4 mm with a matte lamination on it. used the Matte lamination to diffuse the visibility of the things under it, but still to get a hint of the light under it.

Resized Image

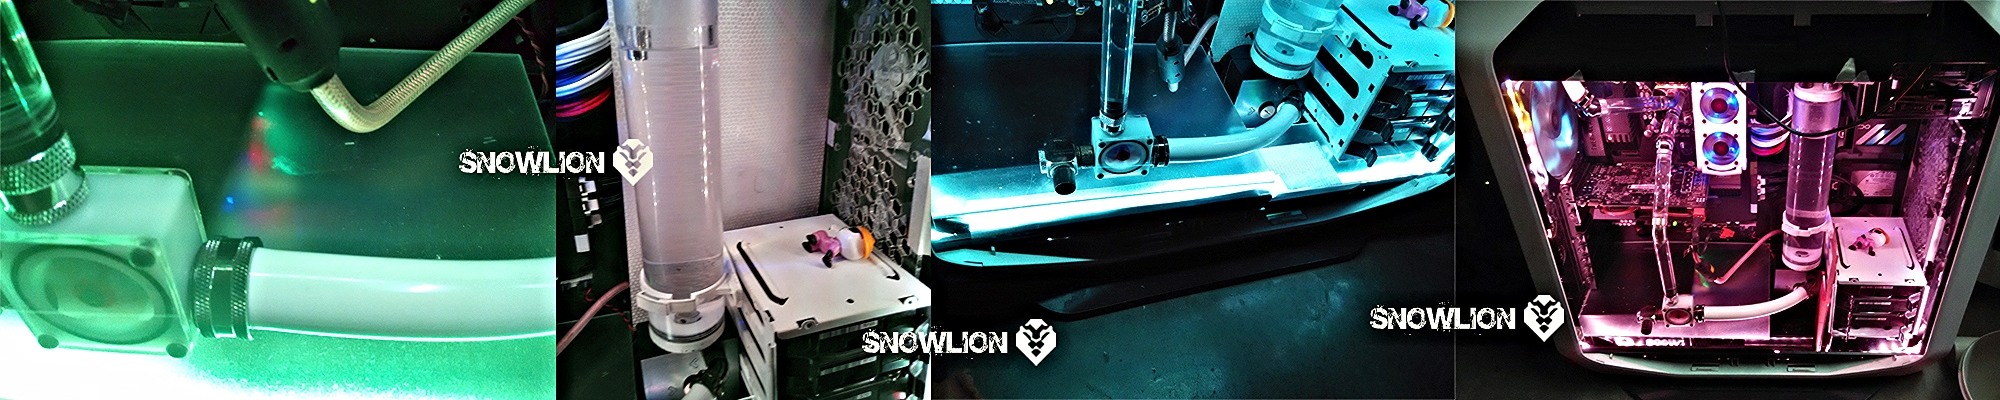
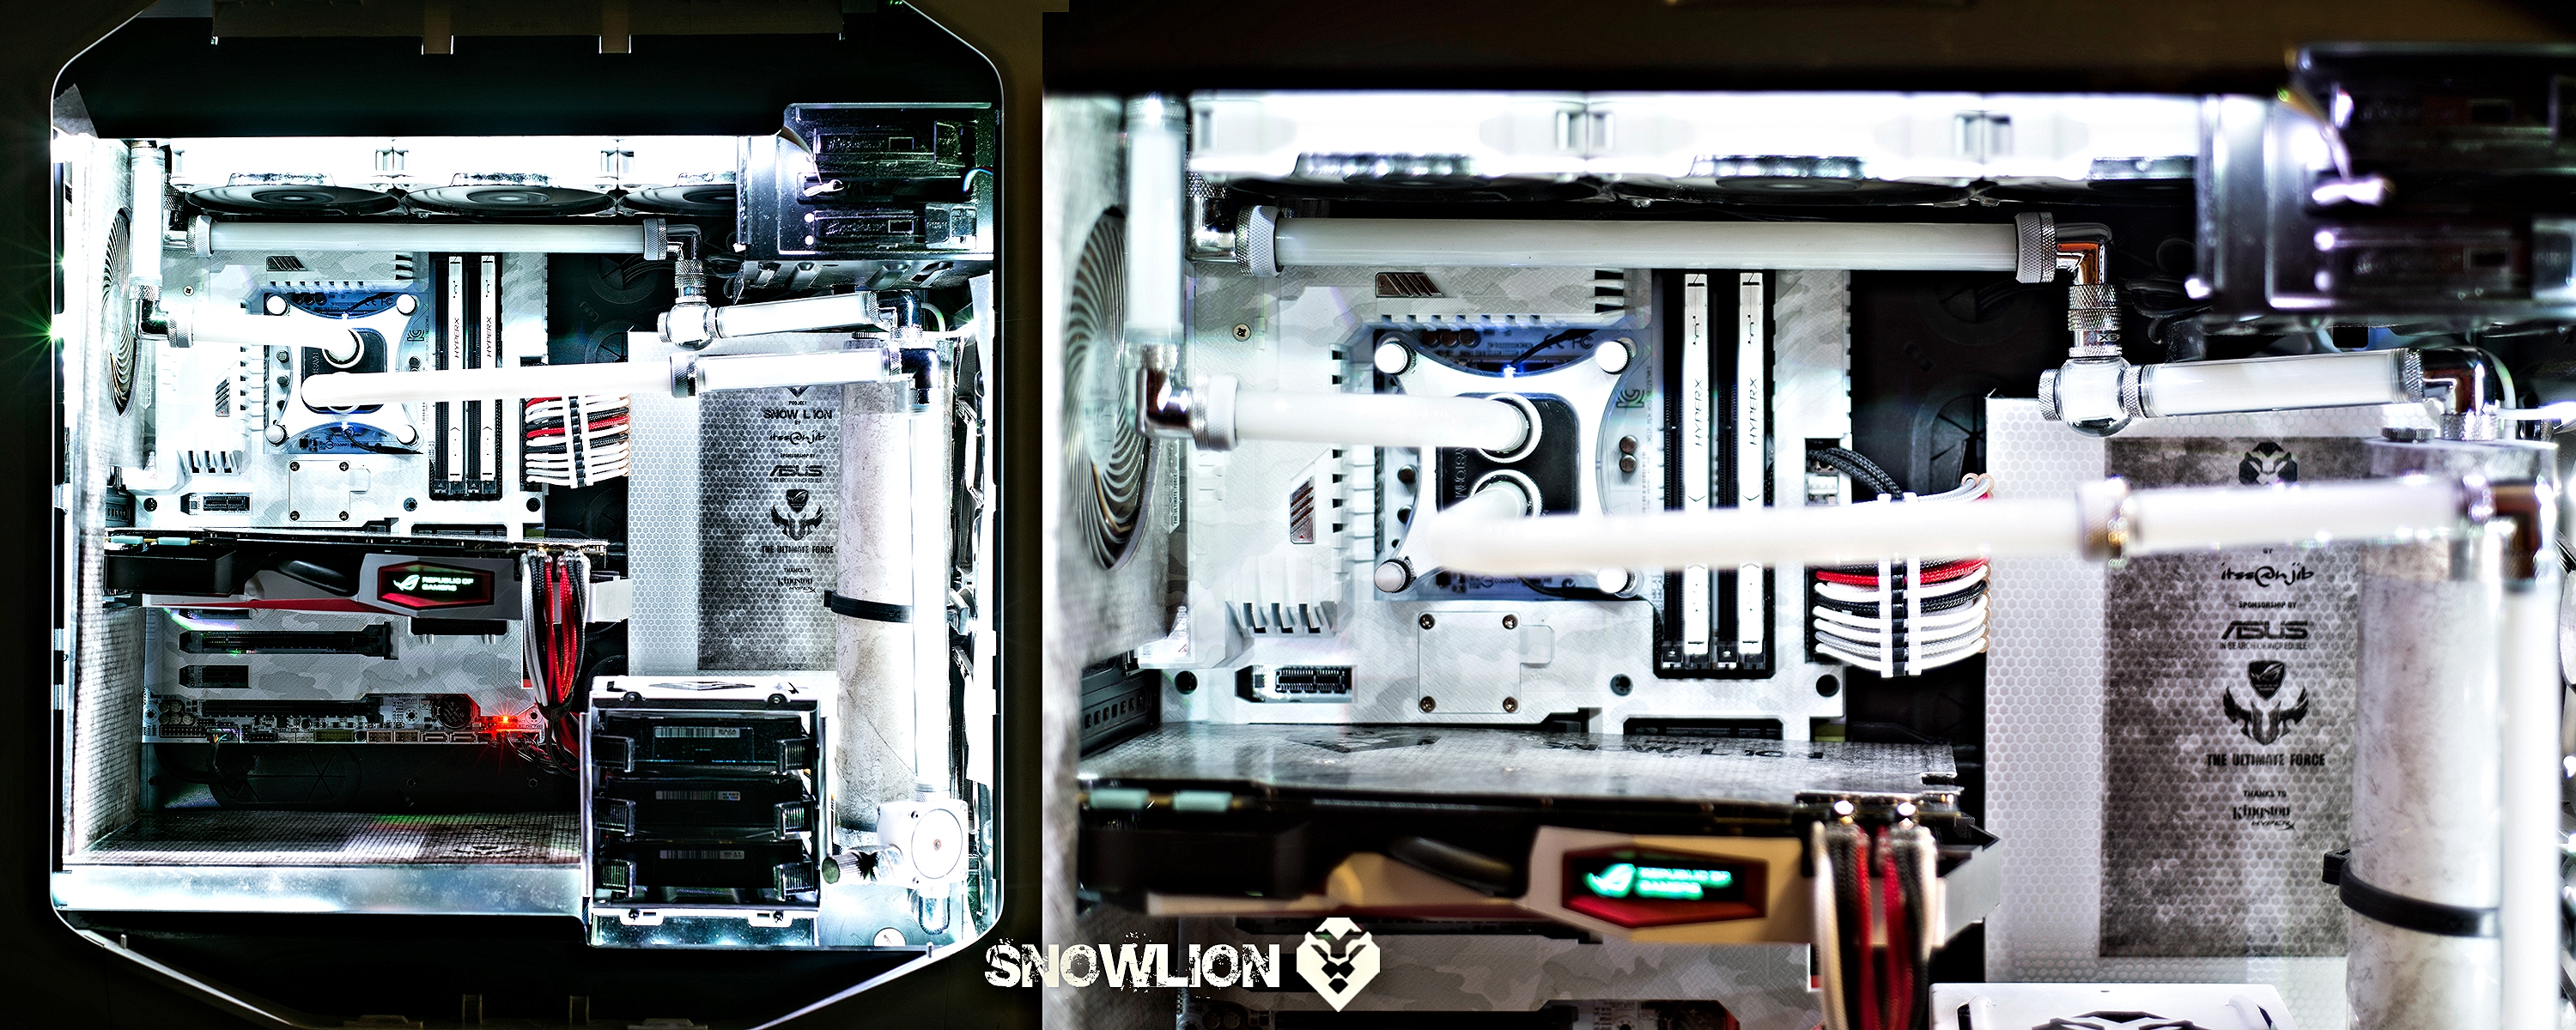
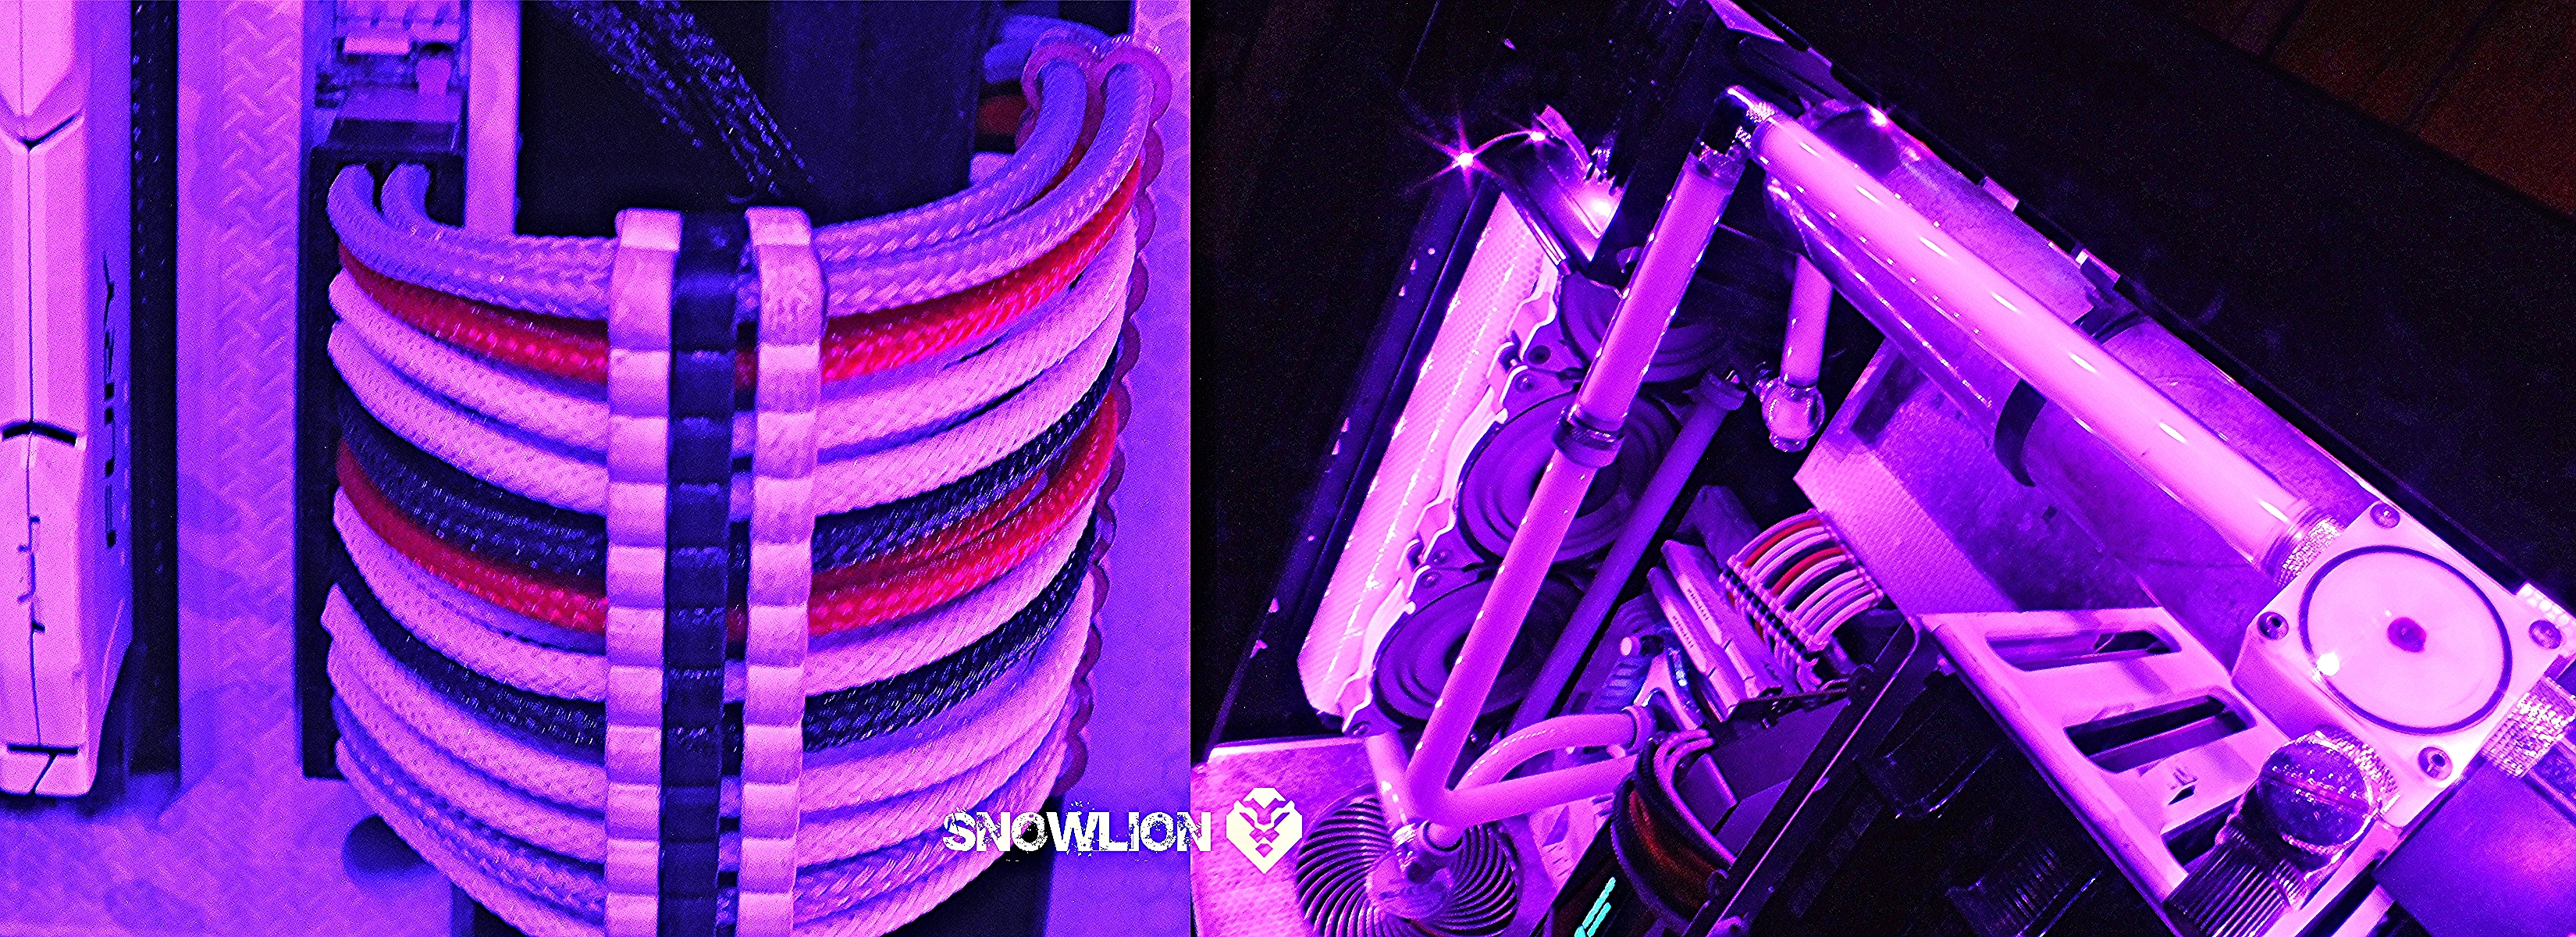
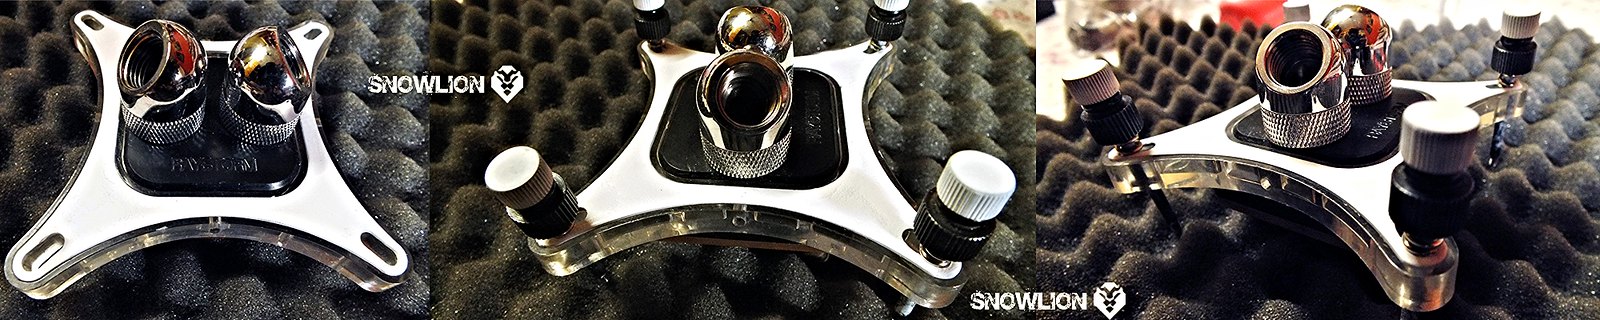
Now its time for the tubing, got some acrylic tubes with G1/4 thread on both ends, so with both side male adapters i started using them with the help of some xspc 45 degree adapters and a bit of flexible white tubes where it was not easy to mount the acrylic tubes.

First I started the loop like from the tube reservoir the pump taking the water and pushing it straight to the CPU block and then from CPU block moving to the Radiator and from Radiator going to the Reservoir.

Resized Image

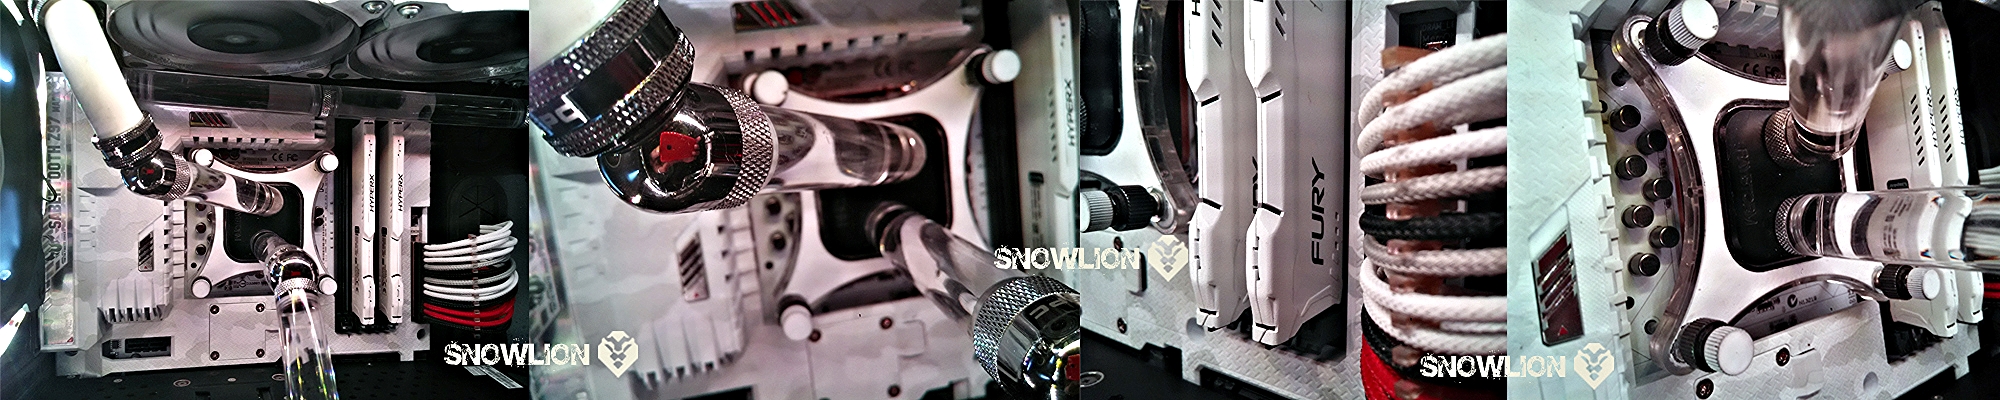
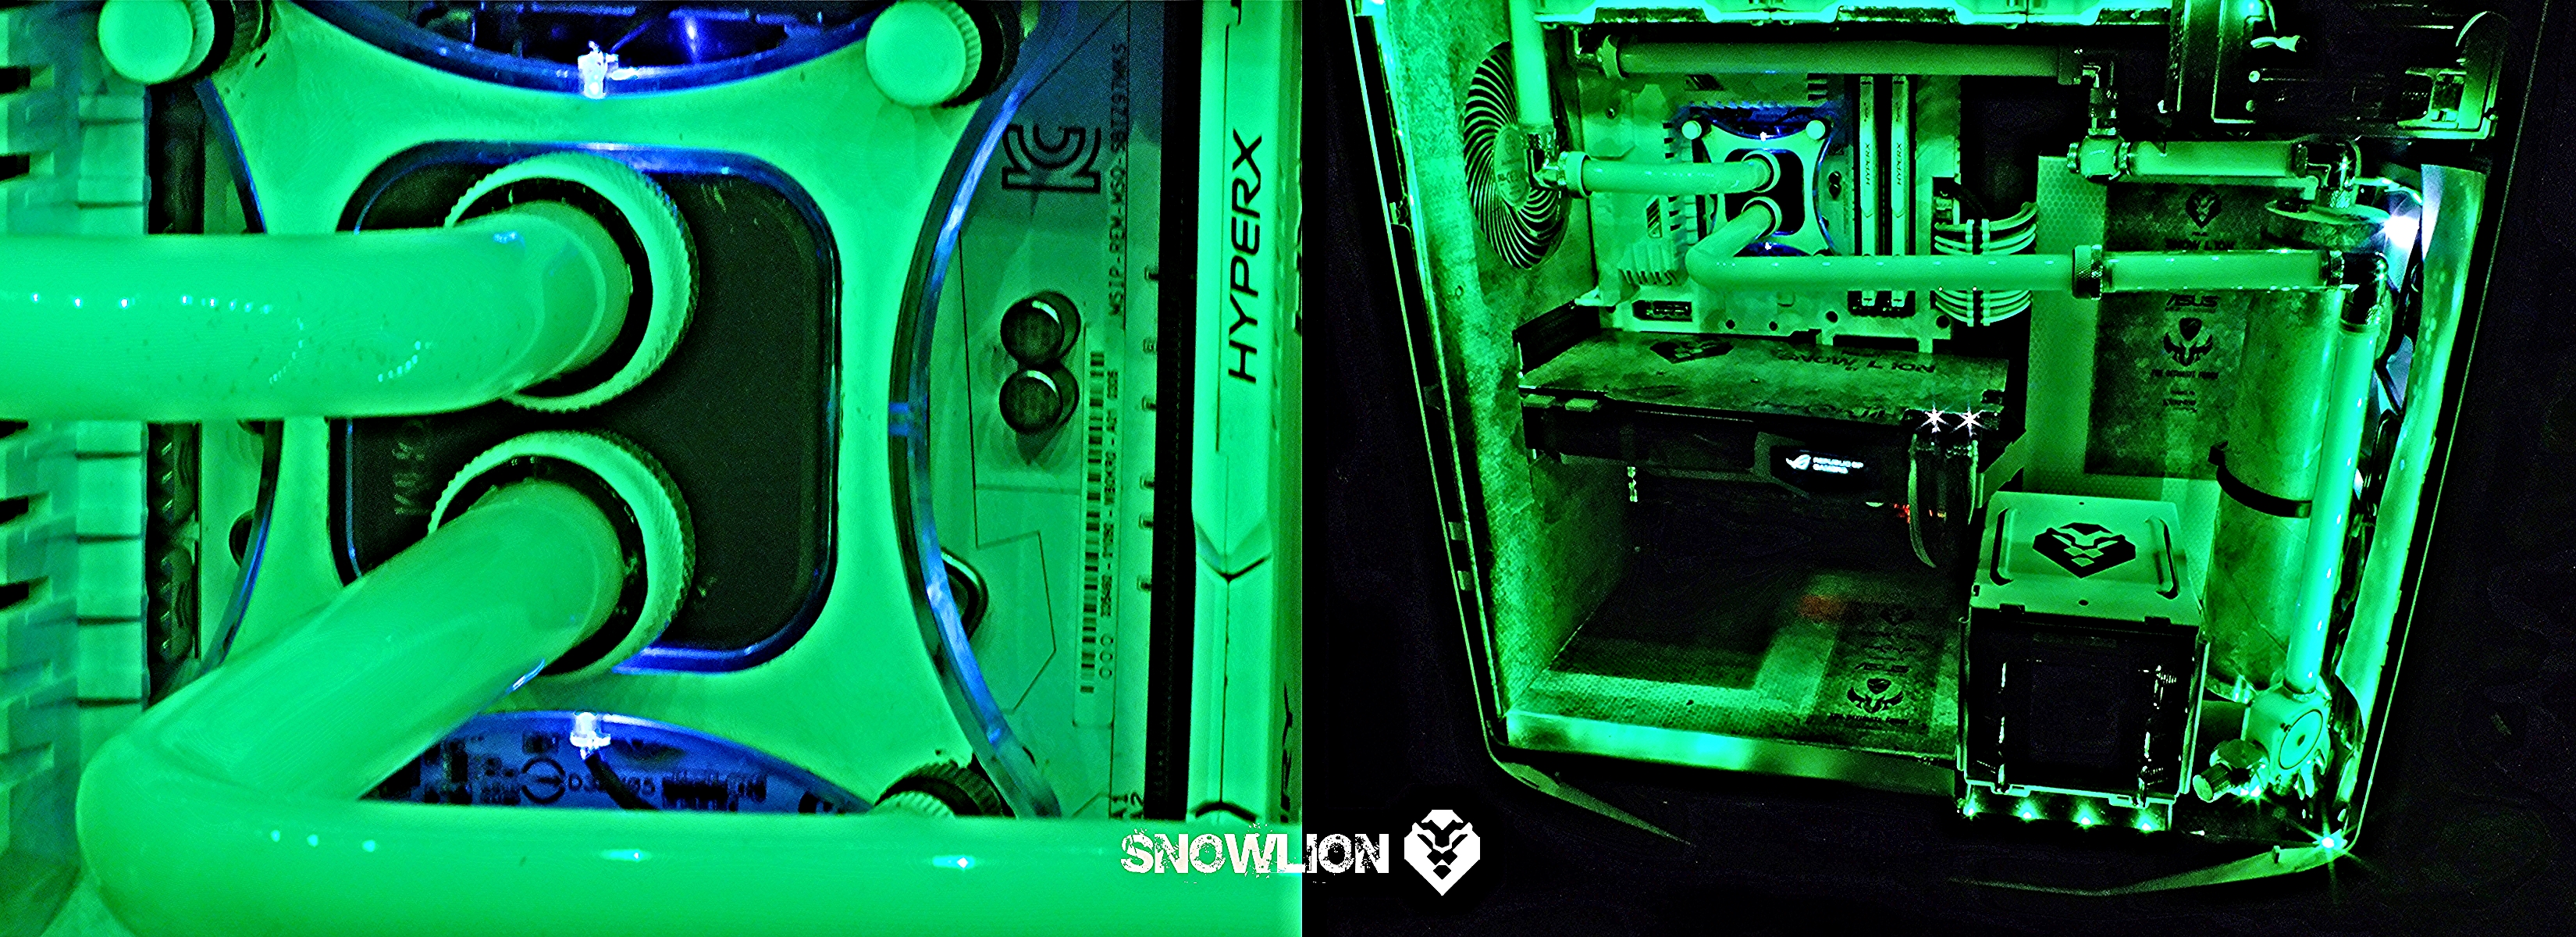
The Tube going to the CPU block was straight, but the tube coming out from the CPU block was at 45 degree. So in the next tryout I changed the direction of the tube carrying water to the CPU block from 90 to 45 degree to match the other tube, and here it how it looked.

Resized Image

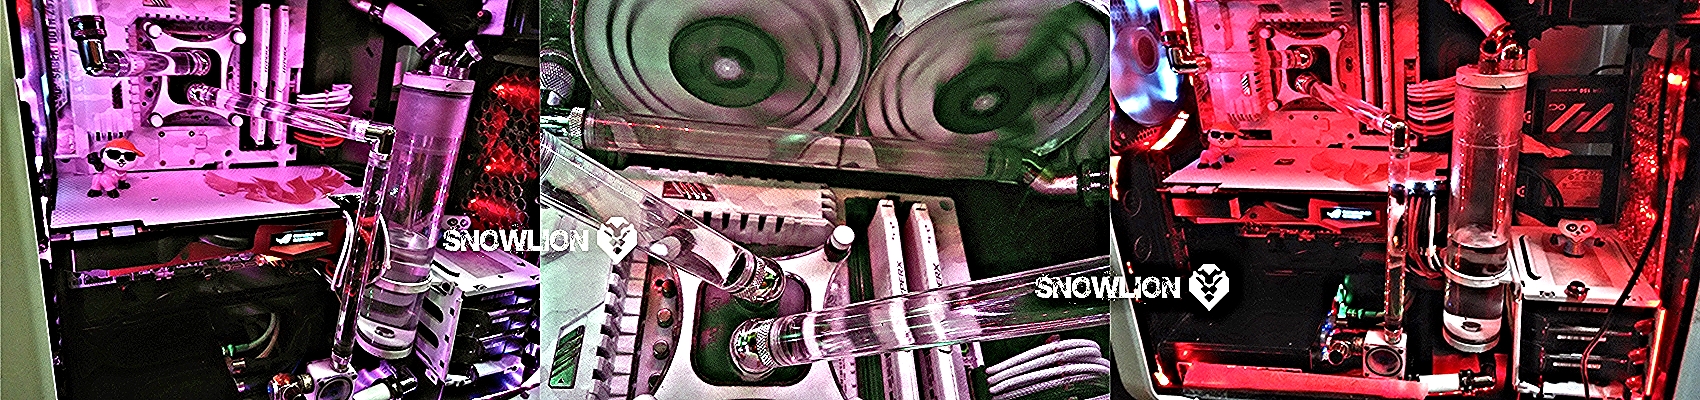
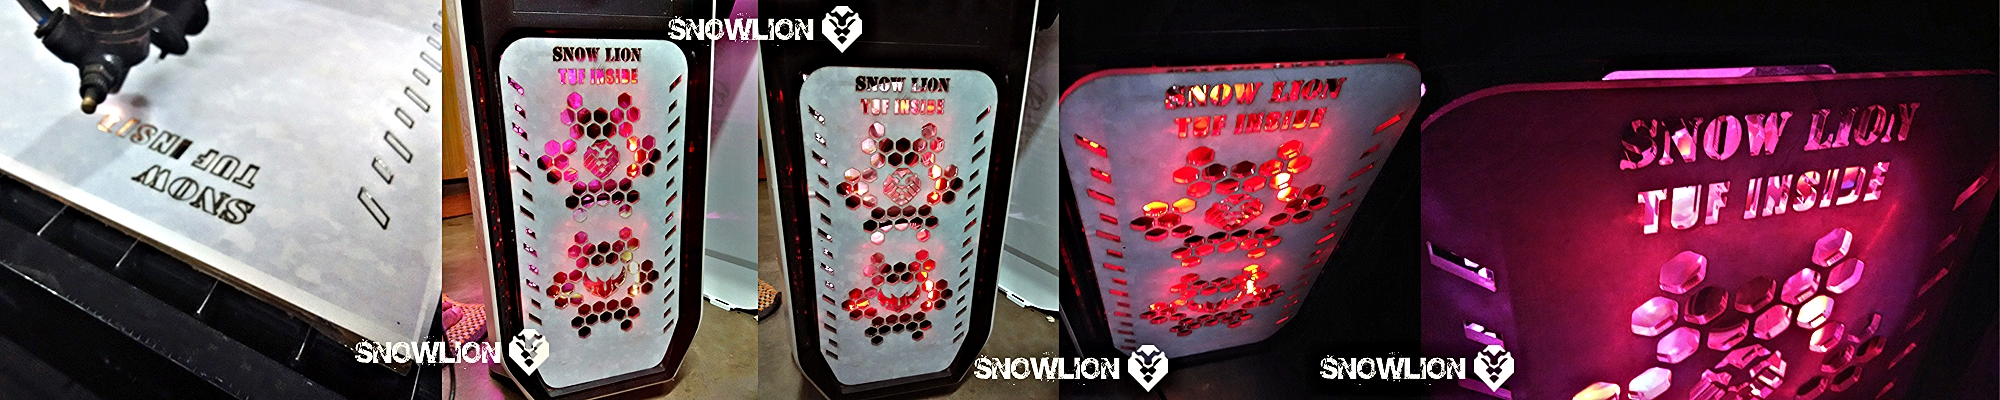
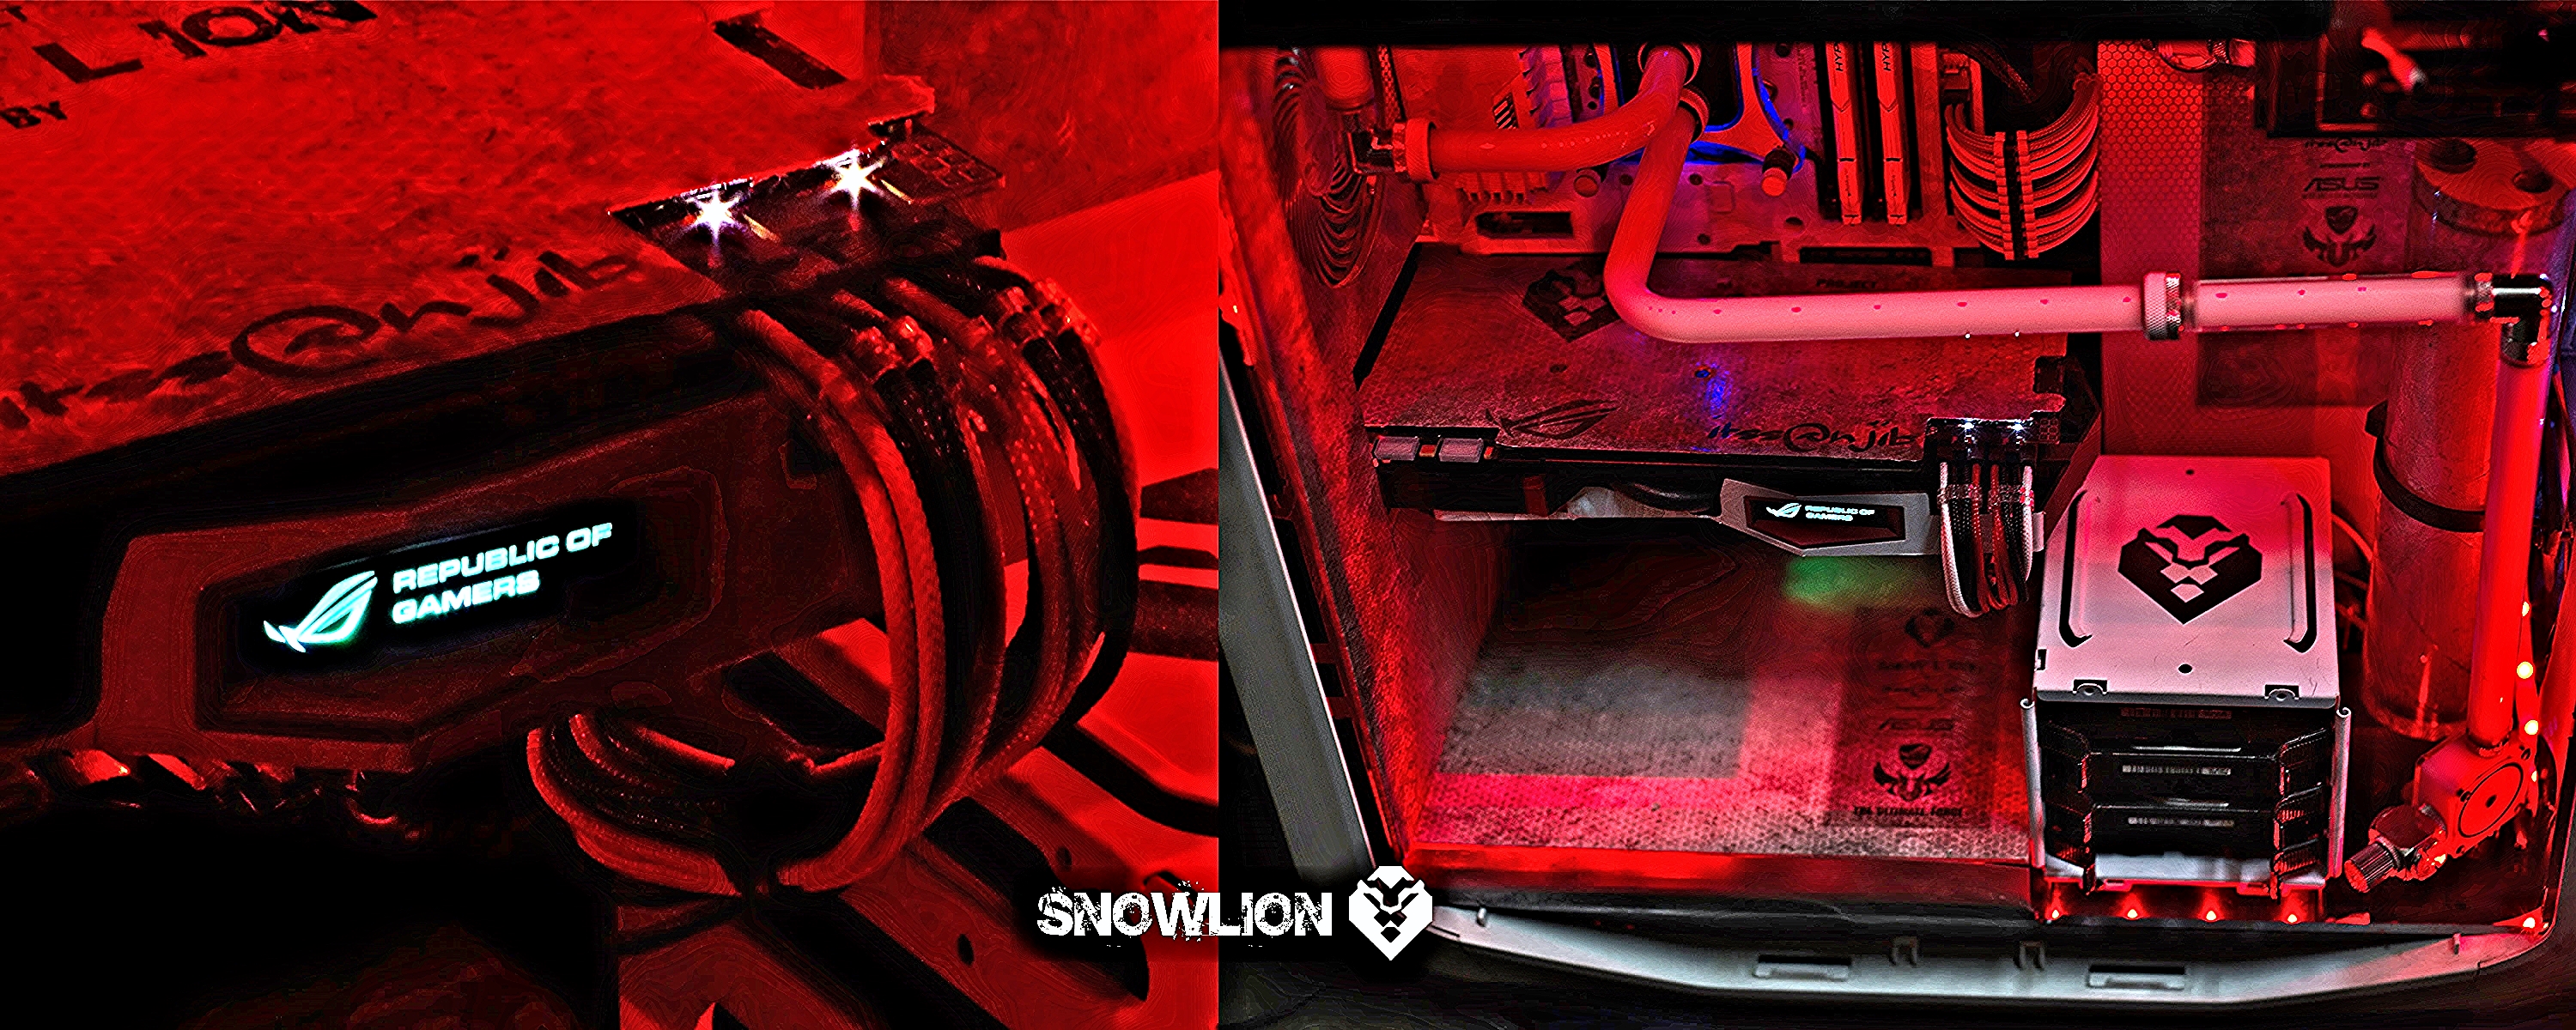
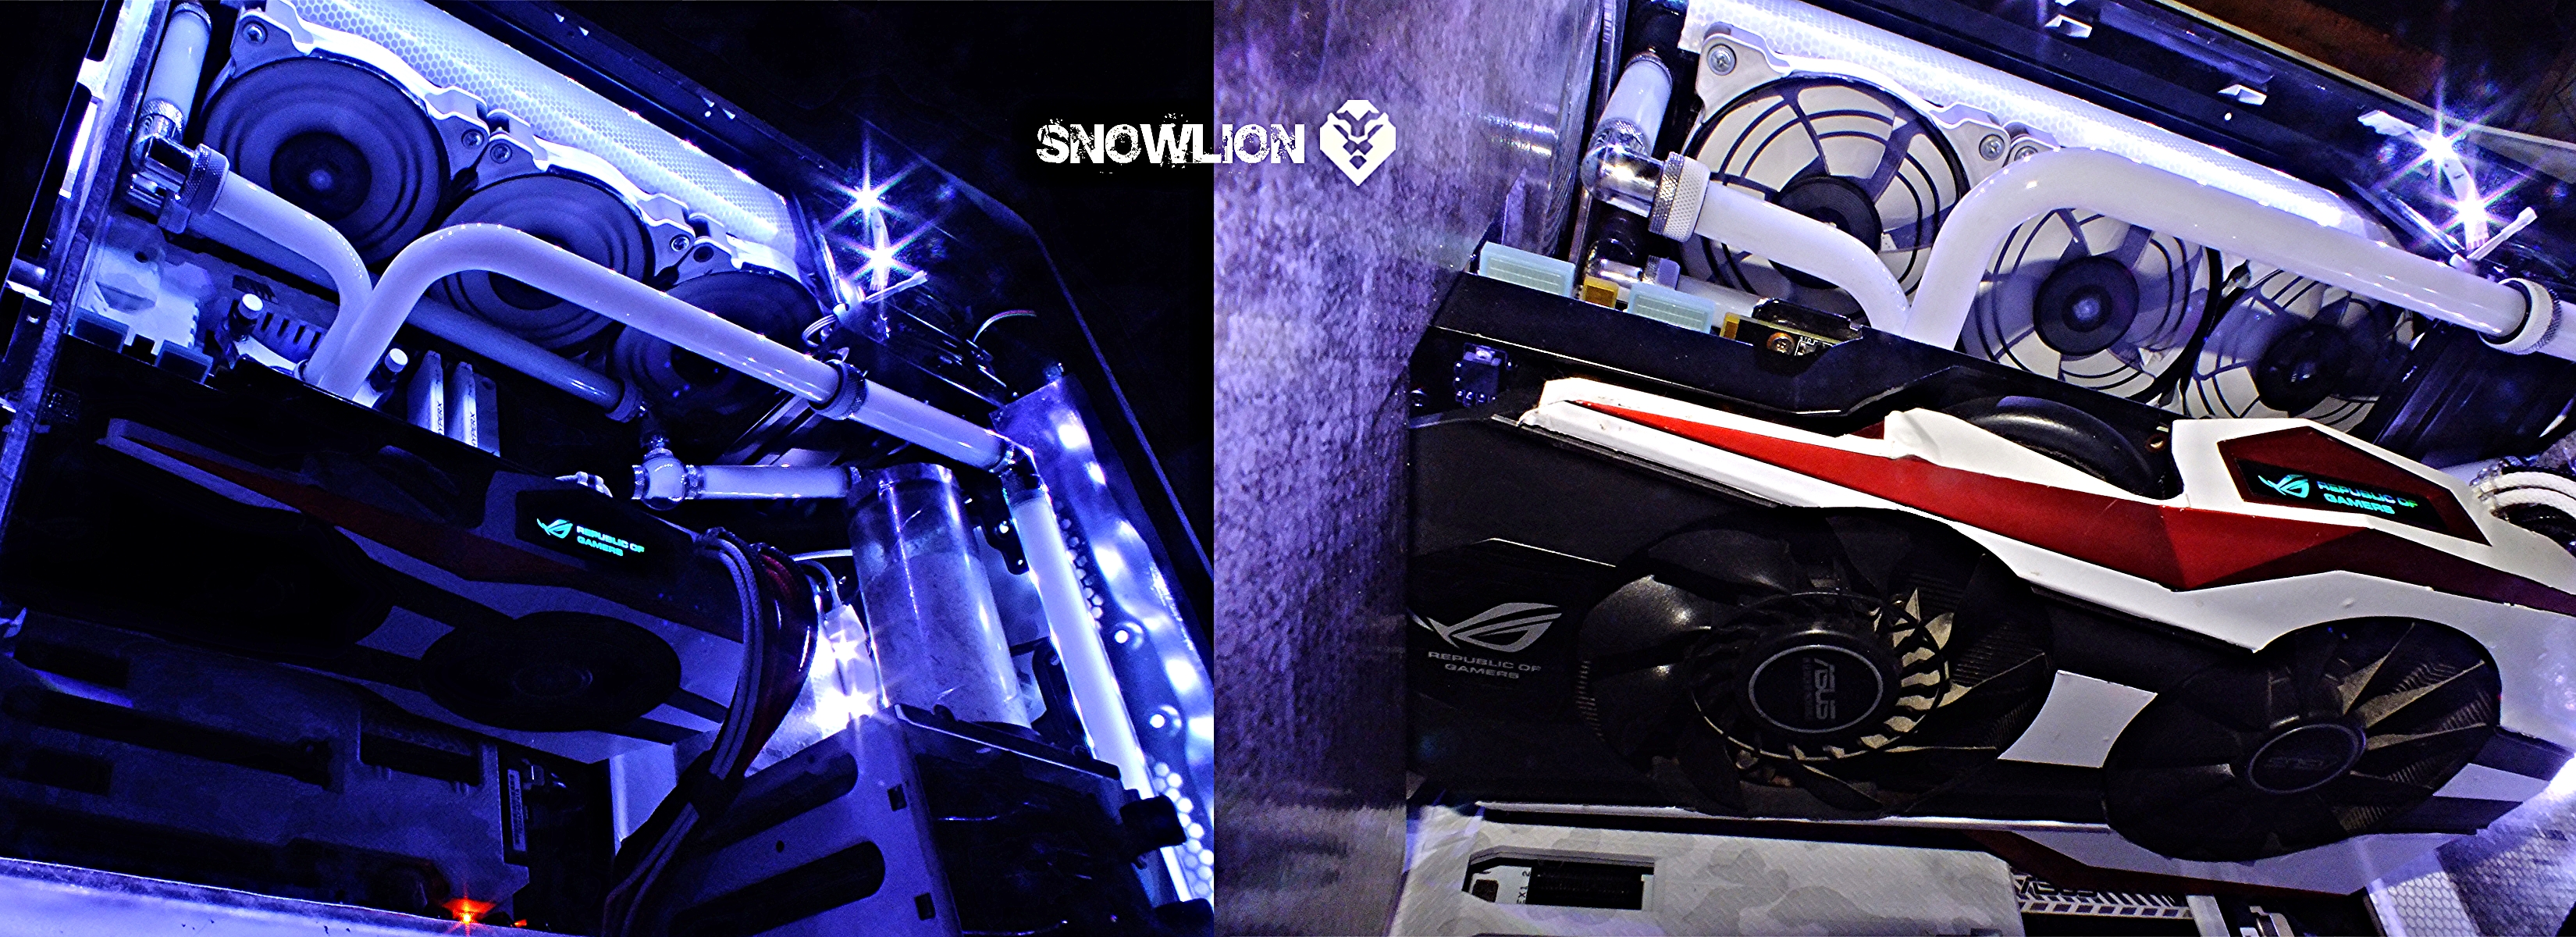
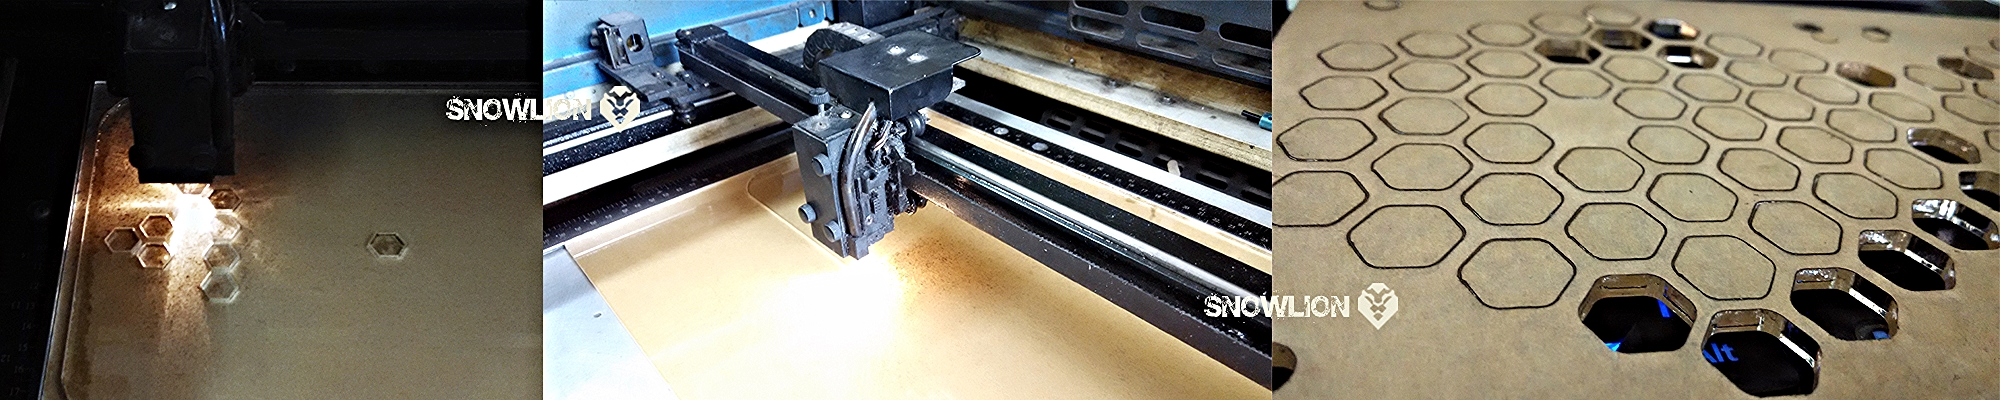
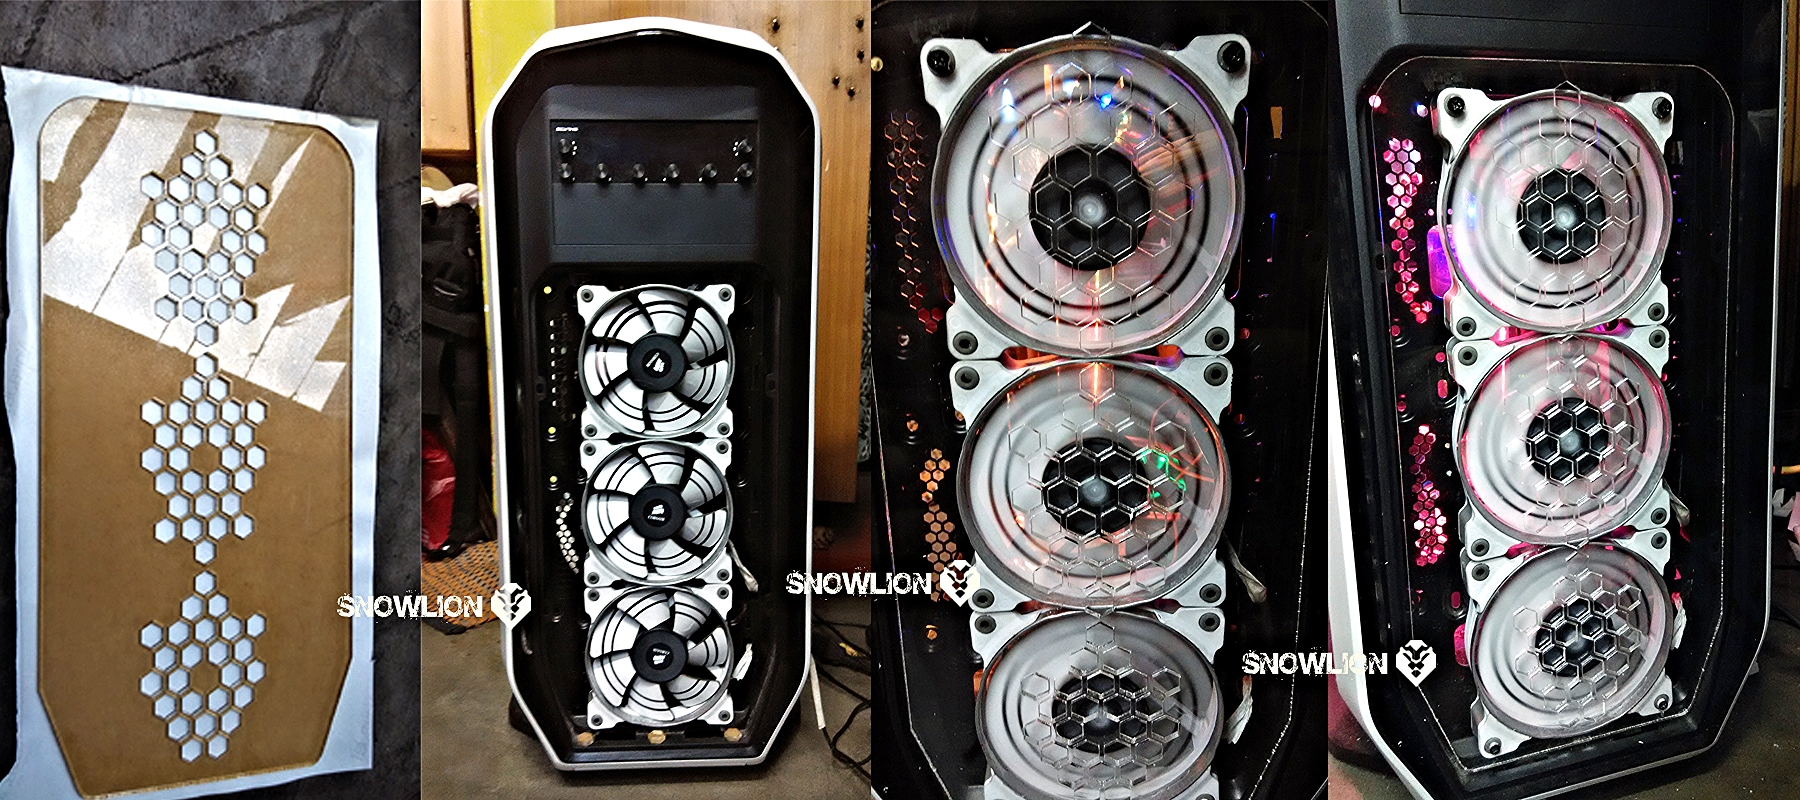
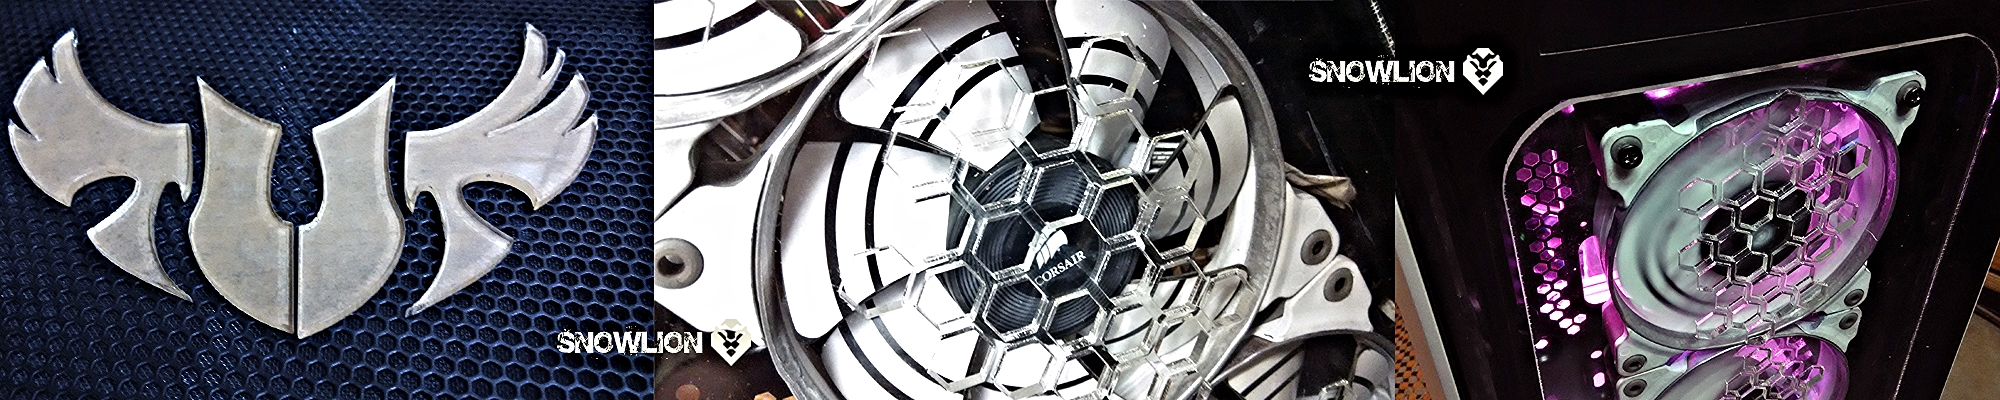
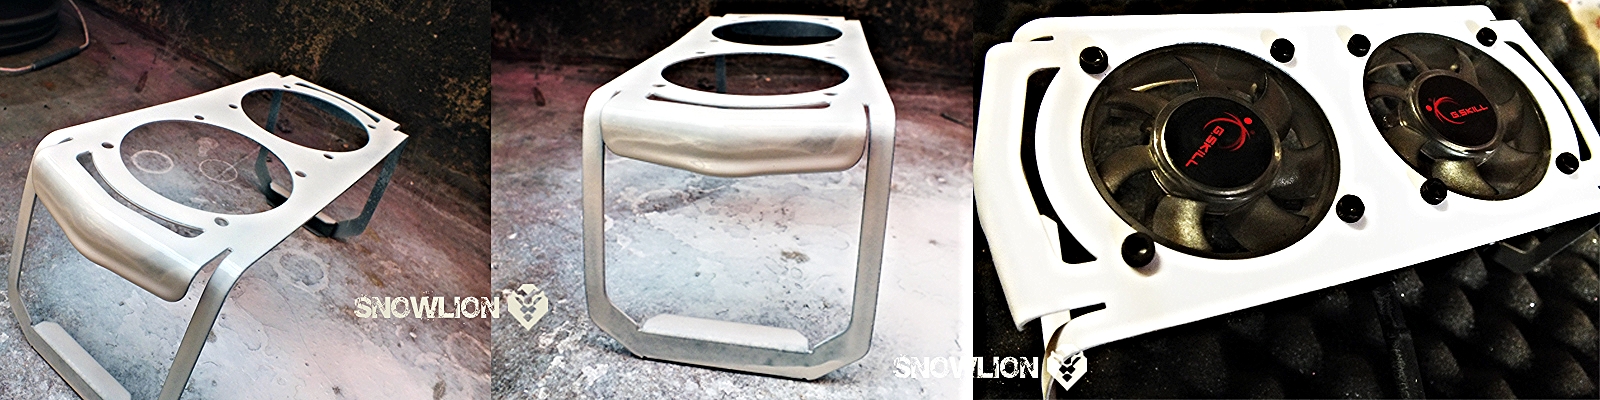
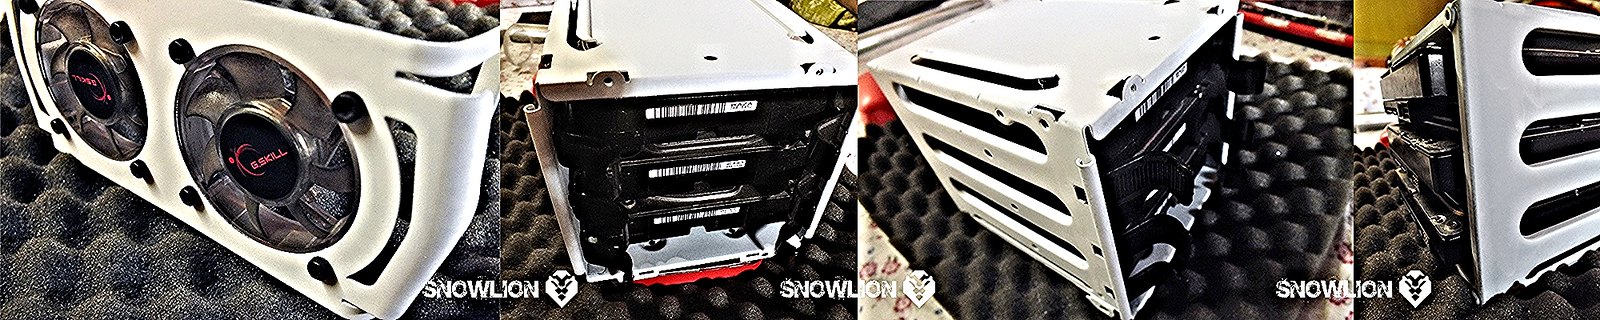
To maintain proper air pressure for the radiator I shifted the SP 120s from the front and put them inside the cabinet, pushing air thru the radiator, and have put 2 corsair ap fans on top to pull the air through the radiator. And planned to put to 140 mm LED fans on the front as intake... so this lead to rework on the front panel acrylic design. And this is what I did to the front panel.

Resized Image
Resized Image


itssanjib itssanjib
  • Hardware murderer
  • Hardware murderer
  • Posted on: 2015/5/23 9:46
Re: Making of Snow Lion #14
Its time for some fun with acrylic sheets. I planned to put the 3 SP120 fans on front and to show the white stickers on it, i need a transparent cover for it, so acrylic sheet comes as the first choice, made a honey comb design and then went for the laser cutting for the perfect finish. This was my first time with the laser cutting workshop so had some issues with the files, so did a basic try out and here is the out come...

the front panel
Resized Image

The TUF logo
Resized Image

The outcome
Resized Image

a logo for the top mesh of the cabinet and some light effects on the Front acrylic panel
Resized Image Resized Image


itssanjib itssanjib
  • Hardware murderer
  • Hardware murderer
  • Posted on: 2015/5/21 15:19
Re: Making of Snow Lion #15
the GTX 980 matrix platinum... it comes with the usual ROG colour combination... red and black... so for this a red coloured sleevings have been added to the usual black and white combination.... but the gpu needed a little bit of white impression also... to make it a part of this build... The ROG logo was white and the red streaks really looked awesome, so following that just tried to add some white streaks and the result is as follows.... some white vinlys on the cover and a honey comb design vinyl with matte lamination for back plate...

Resized Image

Resized Image
Resized Image


itssanjib itssanjib
  • Hardware murderer
  • Hardware murderer
  • Posted on: 2015/5/14 8:12
Re: Making of Snow Lion #16
Here comes the thanks giving label for SnowLion

Resized Image
Resized Image


itssanjib itssanjib
  • Hardware murderer
  • Hardware murderer
  • Posted on: 2015/5/14 8:11
Re: Making of Snow Lion #17
Rams
Thanks Kingston India for the Rams

Resized Image

Resized Image
Resized Image


itssanjib itssanjib
  • Hardware murderer
  • Hardware murderer
  • Posted on: 2015/5/13 13:21
Re: Making of Snow Lion #18
Now its time for the surprises from Asus India

the much awaited Sabertooth Z97 mark S
Resized Image

After the usual unboxing, I couldn't resist myself from putting the XSPC cpu block with white painted plate and screw on it, to check how its gone a look.
Resized Image

Now its time to uncover the beast
Resized Image

Resized Image

In the mean time Paint jobs for some parts and accessories

Resized Image

Resized Image

Resized Image

To check how its gone a look

Resized Image

Resized Image
Edited by itssanjib on 2015/5/13 14:18:12
Resized Image


itssanjib itssanjib
  • Hardware murderer
  • Hardware murderer
  • Posted on: 2015/5/4 7:54
Re: Making of Snow Lion #19
Thanks a lot of the suggestions, I had this thing in my mind when i started to put the things and choosing the right position... the radiator to be in the front and 3 fans at the front to push the air thru the radiator and 3 fans on the back of the radiator to pull the air into the cabinet. And corsair 780t has that option of shifting the drive bay to the left to make position for the radiator. But i had to face serious problem of placing the tube reservoir along with the pump at the bottom. So i had to go with the conventional idea of putting the radiator on top and pushing mostly the warm air from the gpu and other components thru the radiator.... to minimise that i was thinking of making the back exhaust as intake and put a silverstone penetrator at the bottom as intake for the radiator.


itssanjib itssanjib
  • Hardware murderer
  • Hardware murderer
  • Posted on: 2015/5/2 13:39
Re: Making of Snow Lion #20
Thanks a lot mate, looking forward for some suggestions also, as am new to these build stuff and there is lot to be learned from here....

Am changing the fan locations:

Using

2 pcs 140 mm stock white led fans on the front as intake.
3 pcs sp 120 mm HP edition fans with the white stickers on them below the 360 radiator to push the air up thru the radiator.
1 140 mm stock corsair fan at the back for exhaust and
3 120 mm AP 120 [the stock fans that comes with the h100i cooler] on top of the radiator pulling air thru the radiator.
hav plan to put 1 silverstone penetrator at the bottom to intake air from the bottom for the gpu..

is this fine ?? need to know abt the air pressure and all

thanks in advance


TopTop
« 1 (2) 3 »


Forum - All Posts - ocaholic