Advertisment

Browsing this Thread: 1 Anonymous Users
« 1 2 (3) 4 »
cucmag cucmag
  • Discovered the hairdryer
  • Discovered the hairdryer
  • Joined: 2014/6/4 0:37
  • From Bayonne (France)
  • Group: Registered Users
  • Posts: 121
  • Offline
  • Posted on: 2016/7/3 11:52
Re: [Workblog] DeskJack by Xray #21
hello
- "Hi and specially to all miss "
Mister is gallant
- "necessary from time to time "
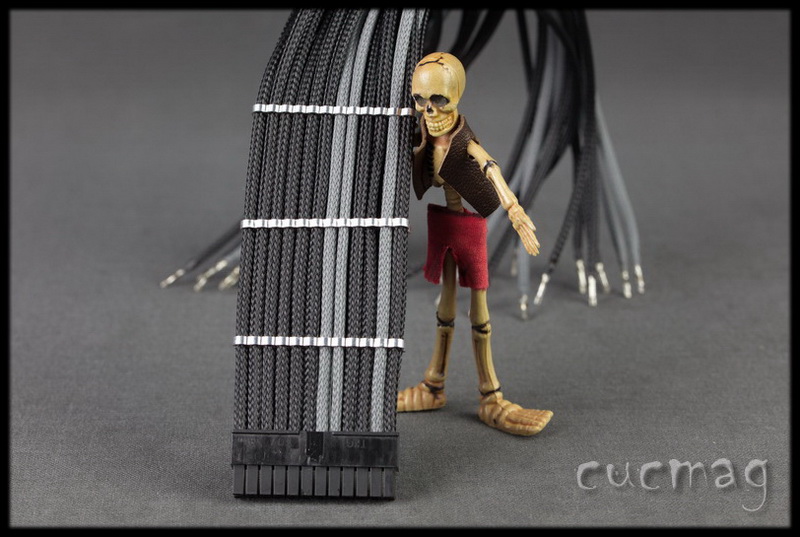
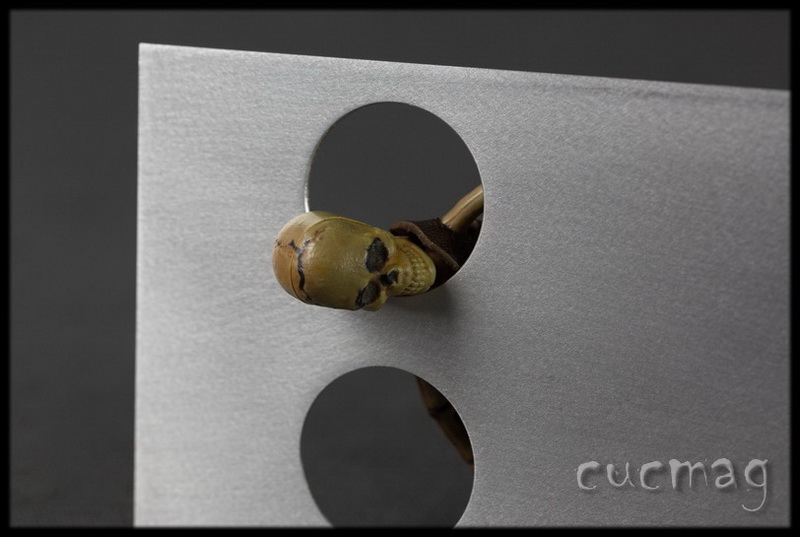
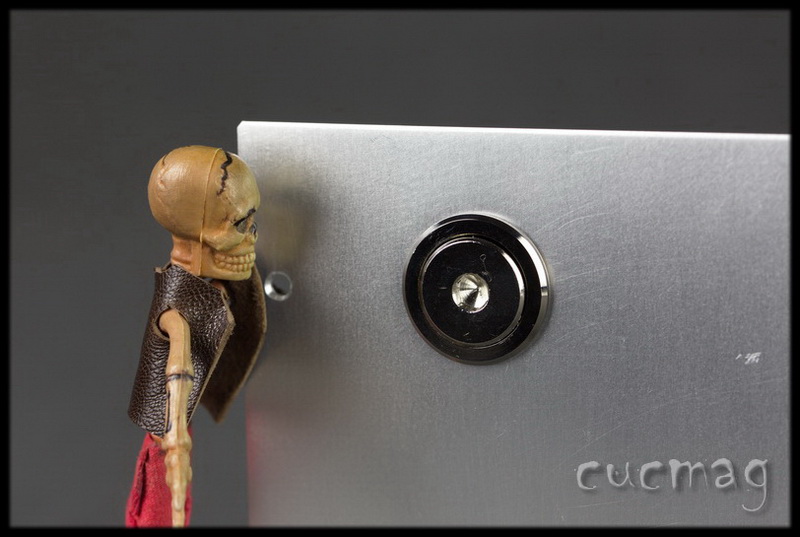
today, we present what?
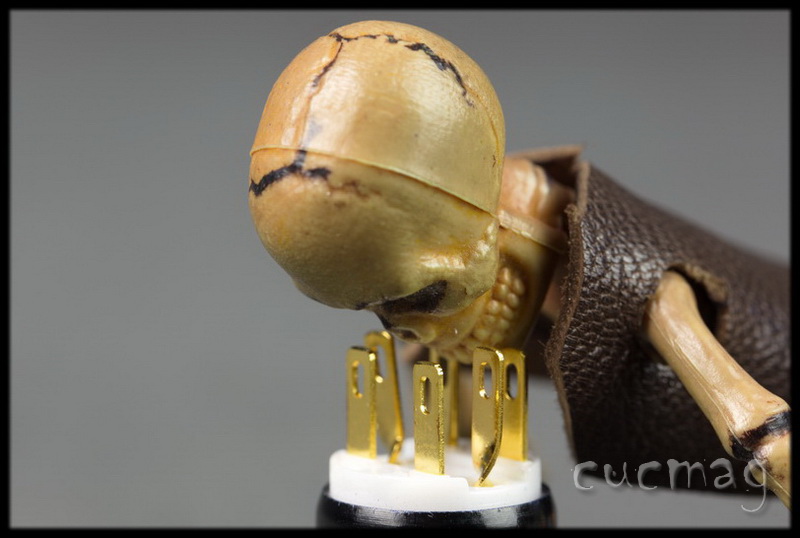
- "button "

Resized Image

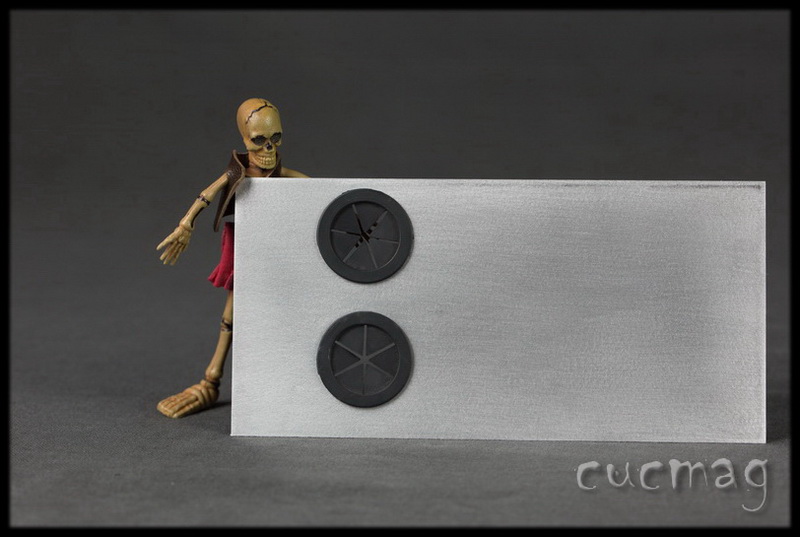
- "well ... when you look more closely the connections ... there are too much for my taste ...."

Resized Image

but I feel that you're going to explain it all
- "thou hast unmasked "
I hear you
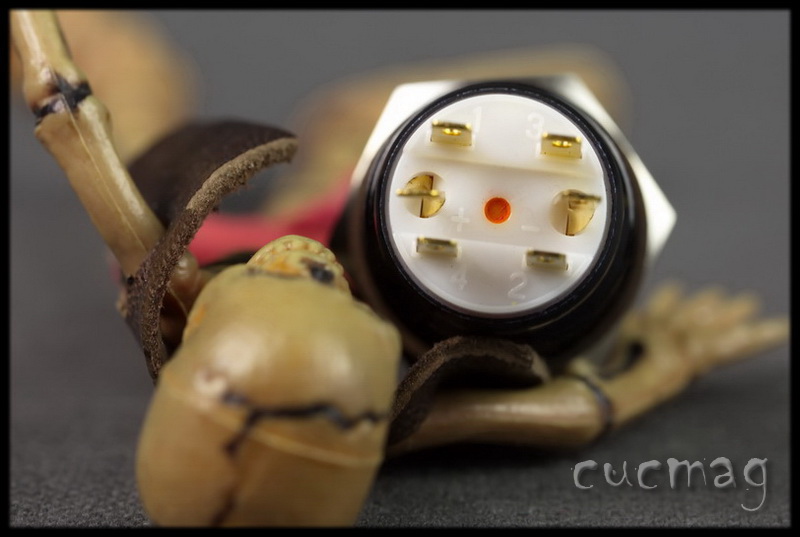
- "the + and - supply the Led"
okay
- "but! watch the LED must be supplied with 3 V"
which corresponds to the voltage of the Power Led taken and HDD LED on the motherboard
- "what serendipity "
we must observe polarity anyway
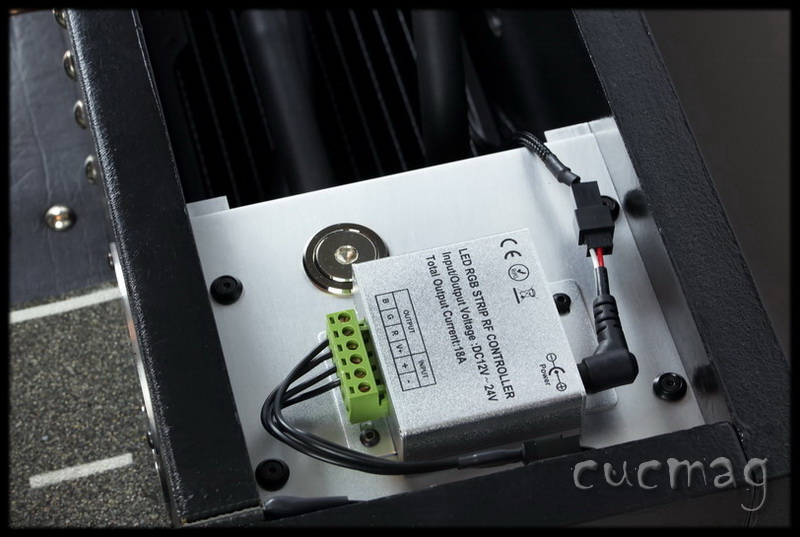
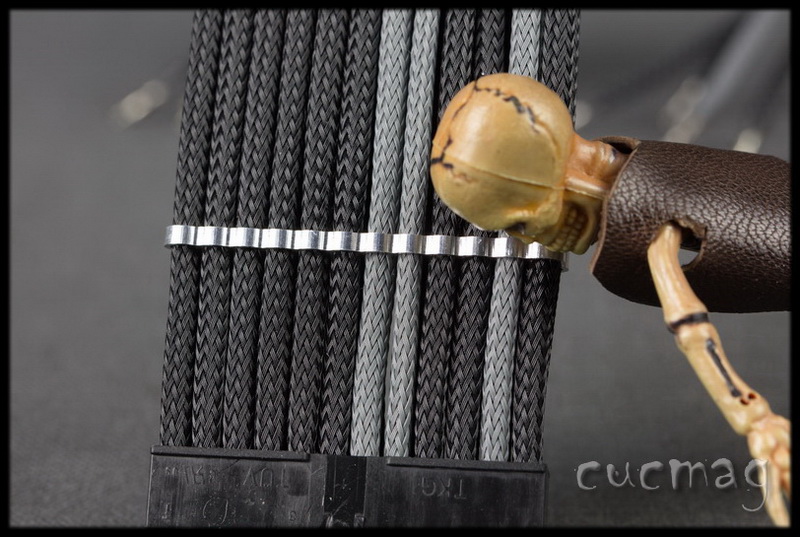
- "then we have this type of terminals with 4 buttons labeled 1 through 4"
and this is where it gets complicated ....
- "not really "
okay ...
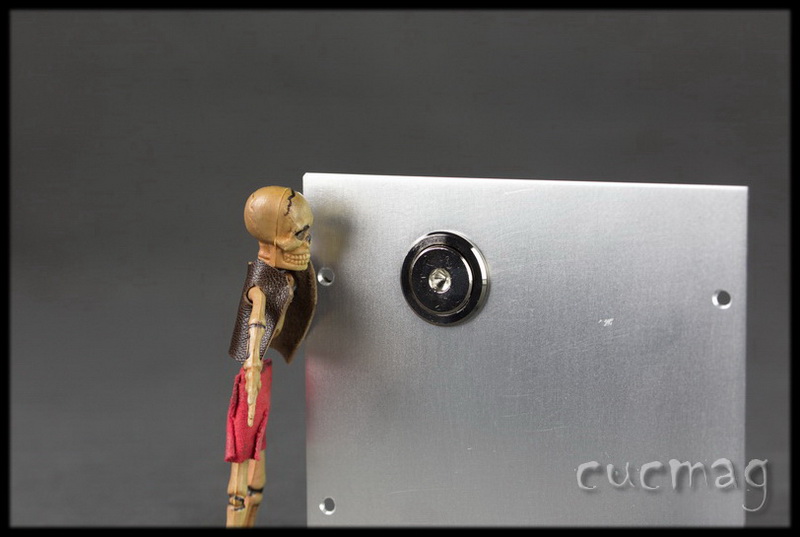
- "for connection to the Power Switch or Reset Switch on the motherboard, use terminals 3 and 4"
very well

Resized Image

- "we put the tin on the terminals that we will use "

Resized Image

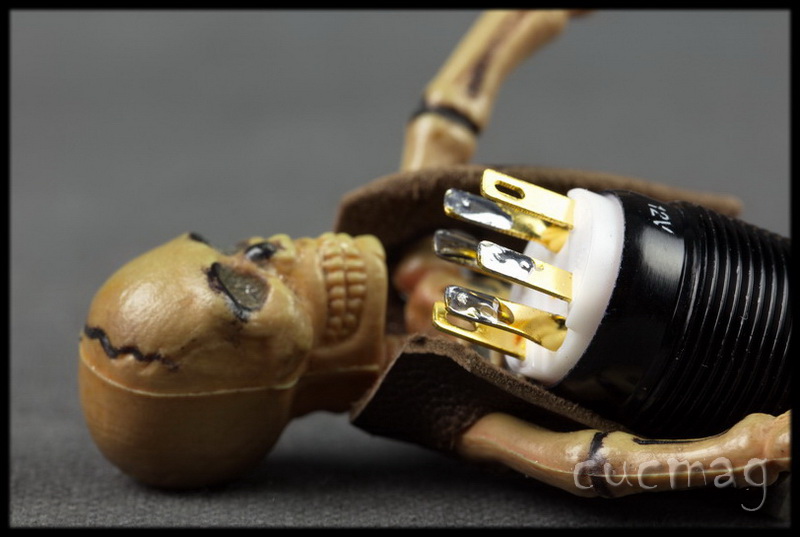
- "You solder the wire"
it's done

Resized Image

- "the heat-shrink sleeve "
it's done

Resized Image

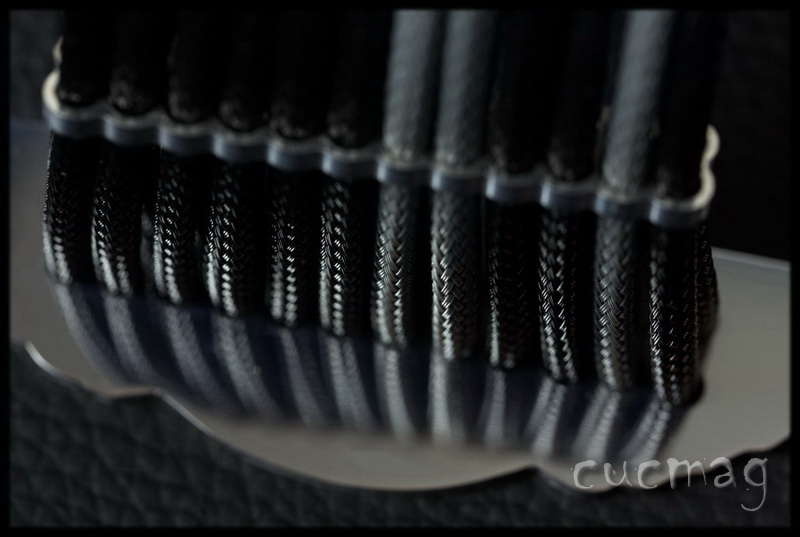
- "and we put the sleeving "
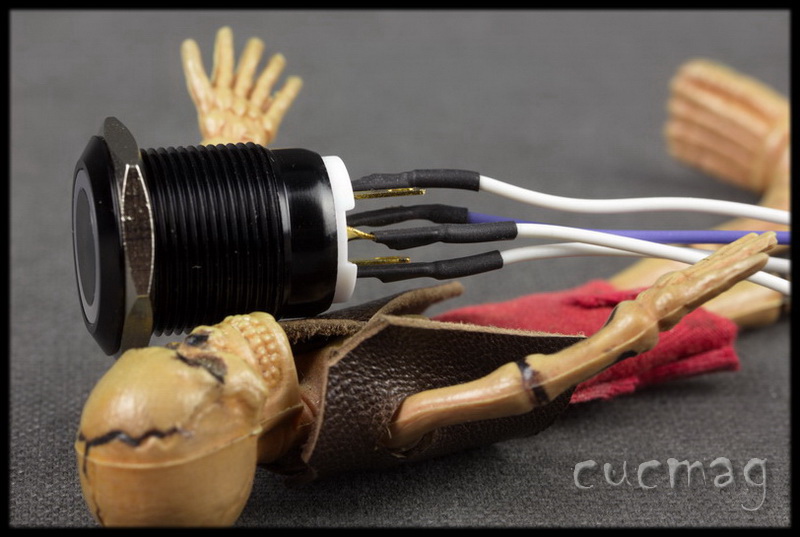
we connect the wire of each cable corresponding to the LED or switch socket "
- "besides, we had a thread color to identify the + wire cable that will plug into the socket Led"
Switch plug has no polarity

Resized Image

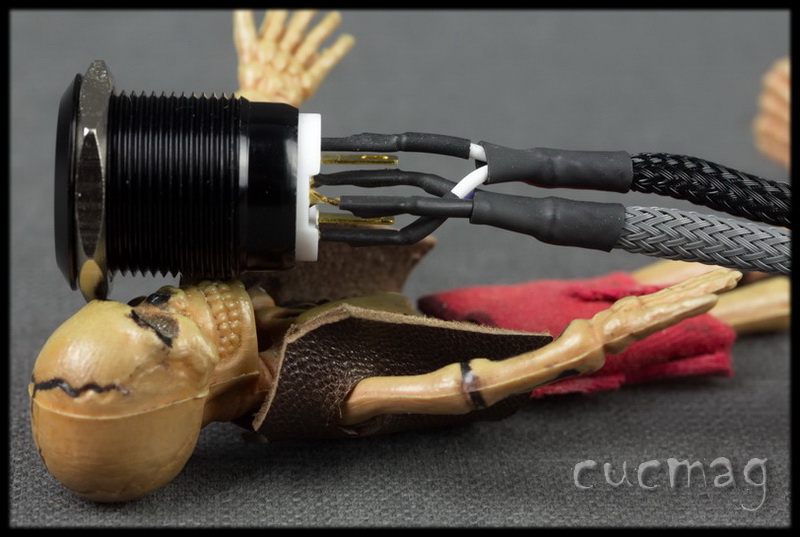
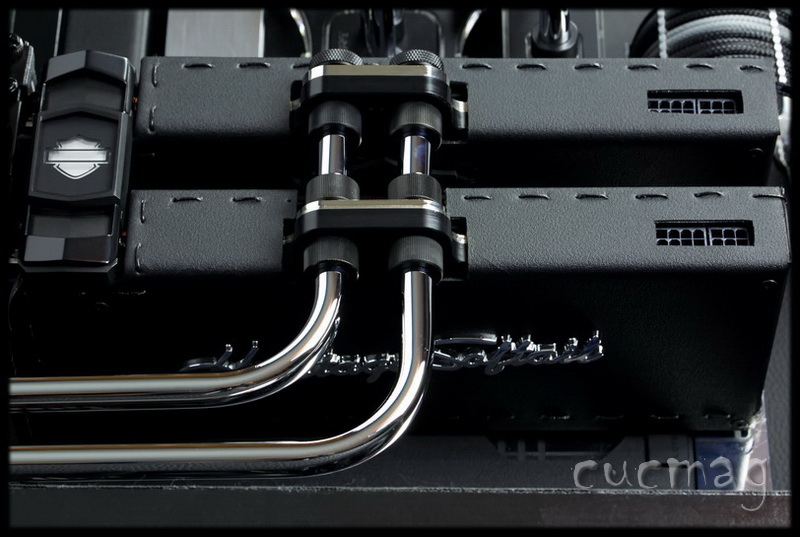
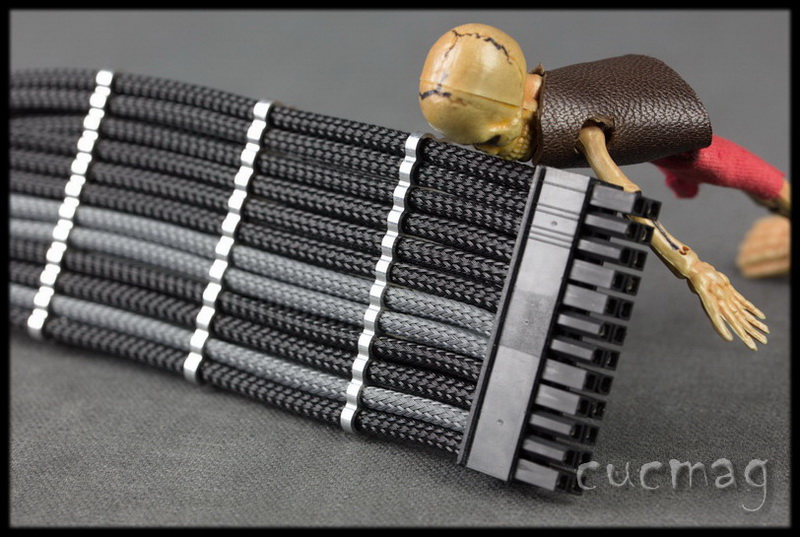
- "at the other end of the wire, we have of 4-pin plug "
you just have to remember what we have welded pin each wire "
- "I noticed it on paper "

Resized Image

- "our first button is ready "
I do the second for Reset switch

Resized Image

what is all these bags !!!!!

Resized Image

- "other buttons "

Resized Image

- "these are switches "
okay
- "they have the distinction of having three terminals ...."
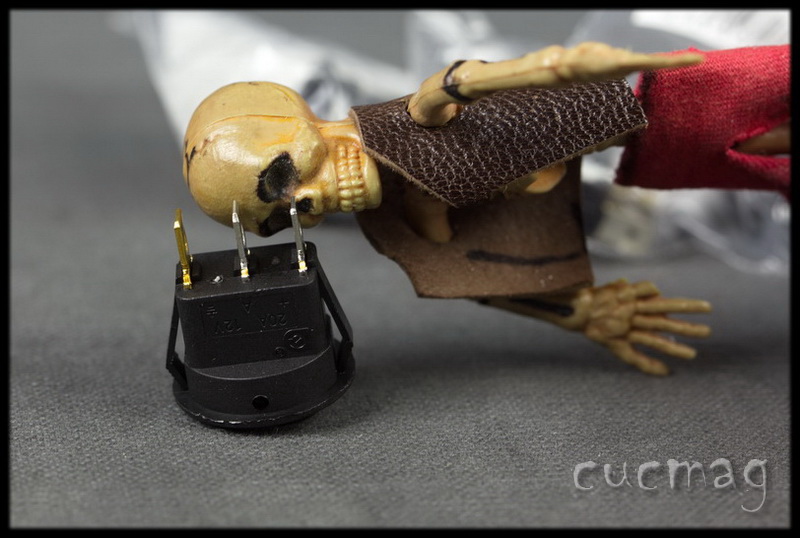
Resized Image

I see it....
- "you have a + terminal, a ground terminal and a terminal A"

Resized Image

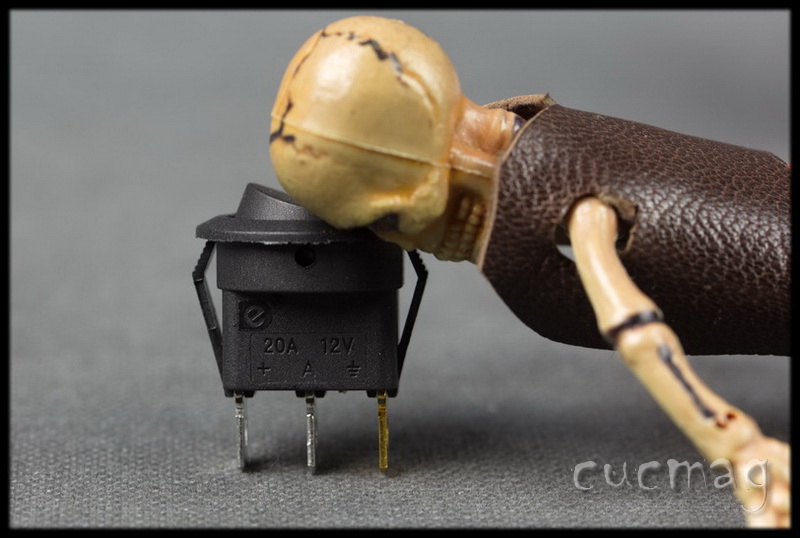
you're going to explain principle
- "you go! first put the tin on the three terminals"

Resized Image

- "we weld the wire ..."
I can do it
- "two colored wire and a white thread"
okay ....
- "white wire to the ground terminal for the negative "

Resized Image

the purple wire are positive then ...
- "Yes! the wire from terminal A will reach the socket to connect the LED or LEDs stripe "
therefore is the + on the LED strip

Resized Image

- "Exact! and wire terminal + is the plug that connects to the power supply"
okay
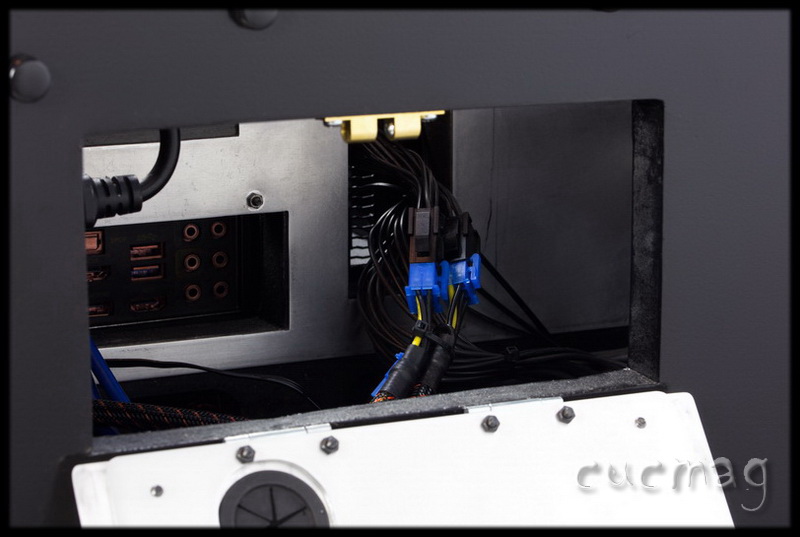
- "as you can notice, I have two white wire at the latter plug "
I see it
- "one of them comes from the earth terminal of the switch, the other comes from the negative plug for the LEDs stripe
let us tangled brushes !!!
- "but not "

Resized Image

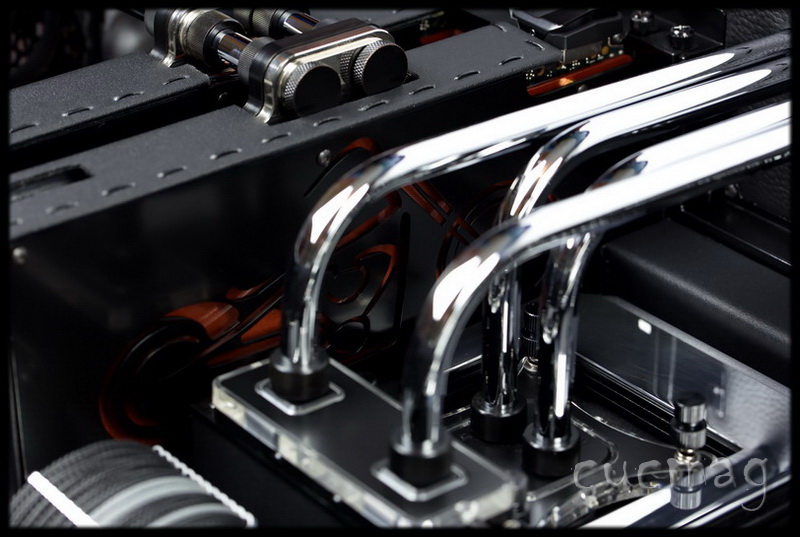
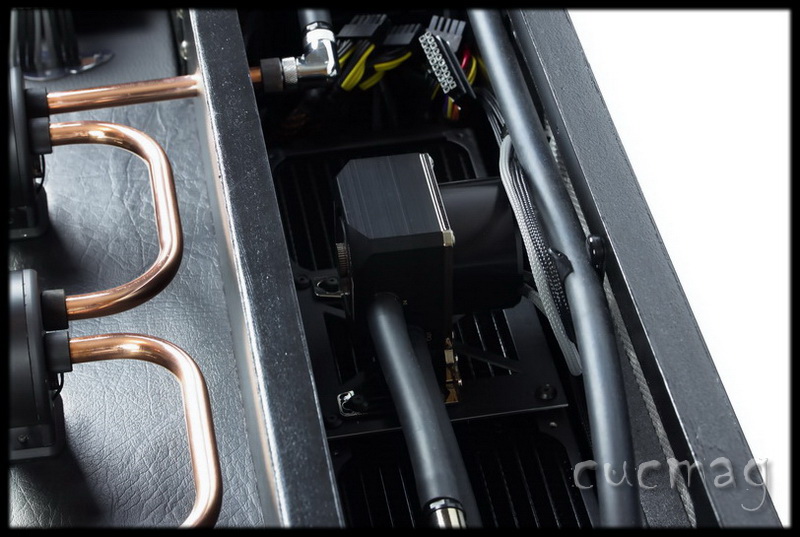
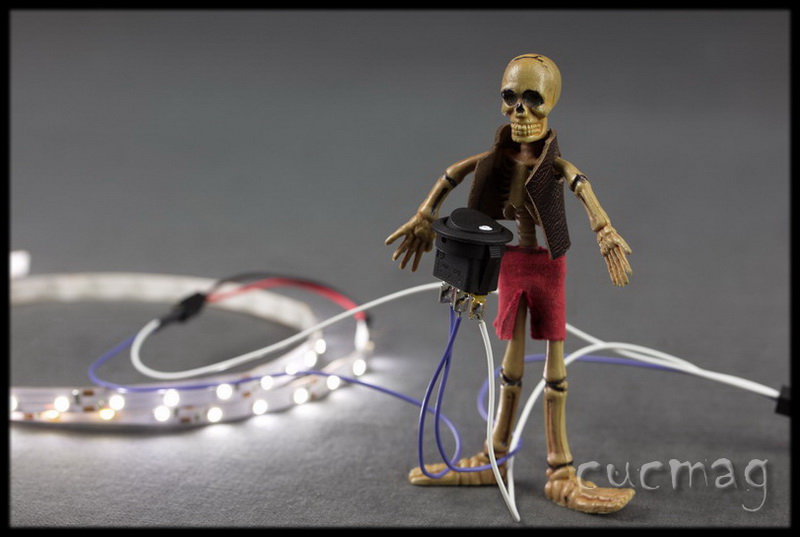
- "I plug the LED taken as the strip LEDs "
we must of course respect the polarity of the LEDs stripe

Resized Image

- "I then plug the other plug on the power supply "
we use a 12 V socket in
- "Quite "

Resized Image

we'll see if it works
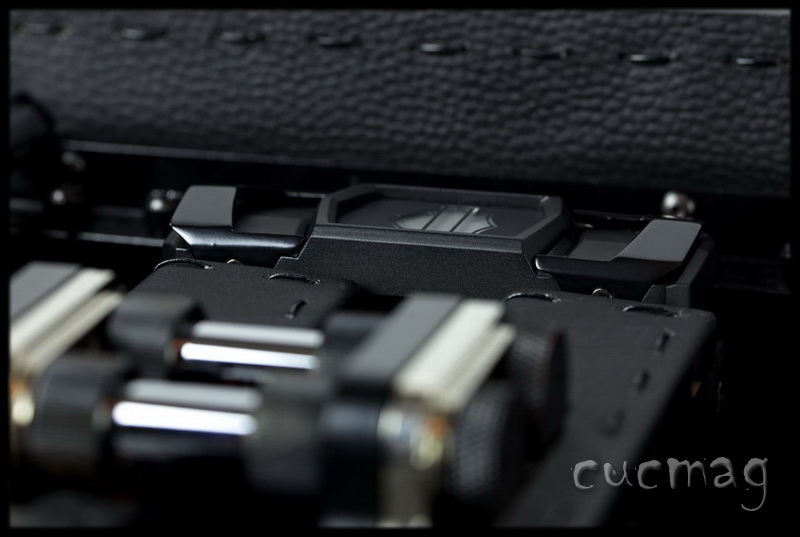
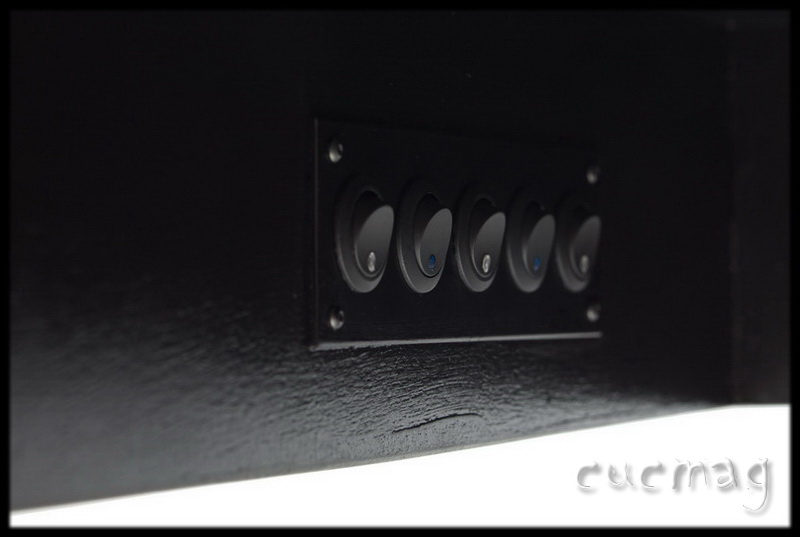
- "you notice the presence of a LED on the switch "
I see it indeed

Resized Image

- "hop! pressing the switch "
and miracle! LED stripe lights up
- "just like the switch Led "

Resized Image

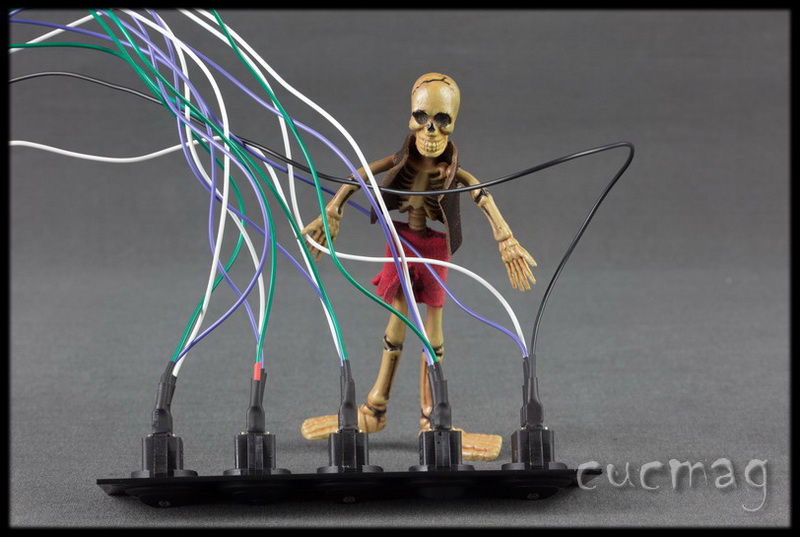
- "well! cuc'.... we have 4 other switches connect "
5 in all !!!
- "Yes that's right 4 + 1 = 5 ...."

Resized Image

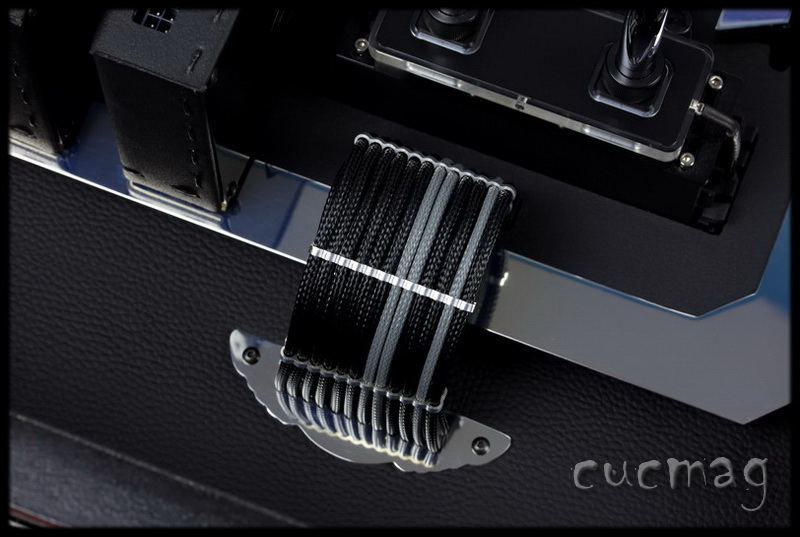
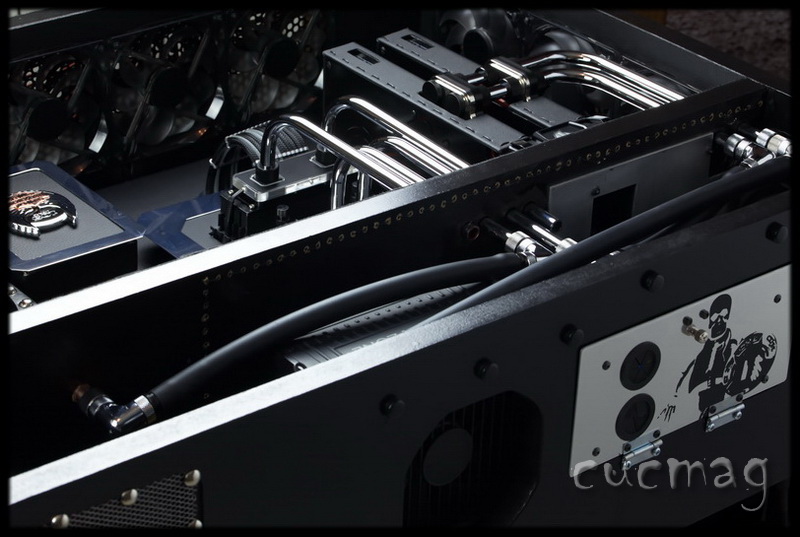
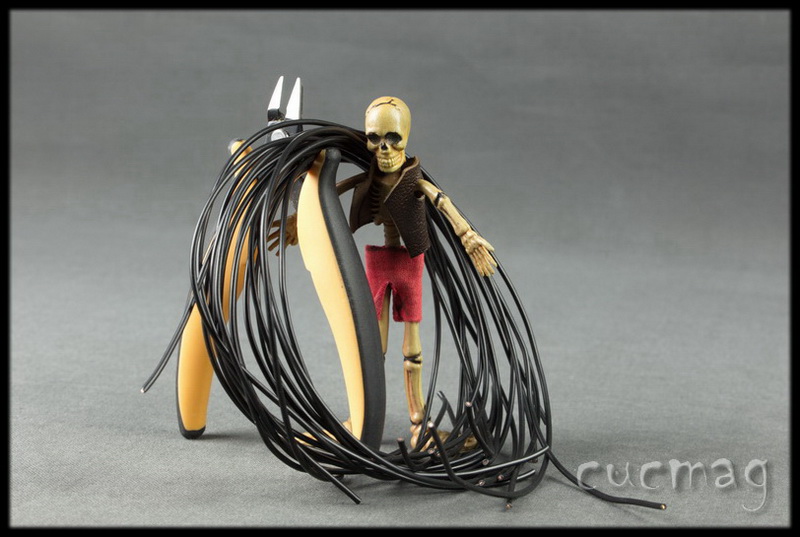
it makes us a good amount of wire in the end .....
- "it's clear!!!!"
he'll have bring order ....
- "I feel that you will do us that much "
but why all this ???
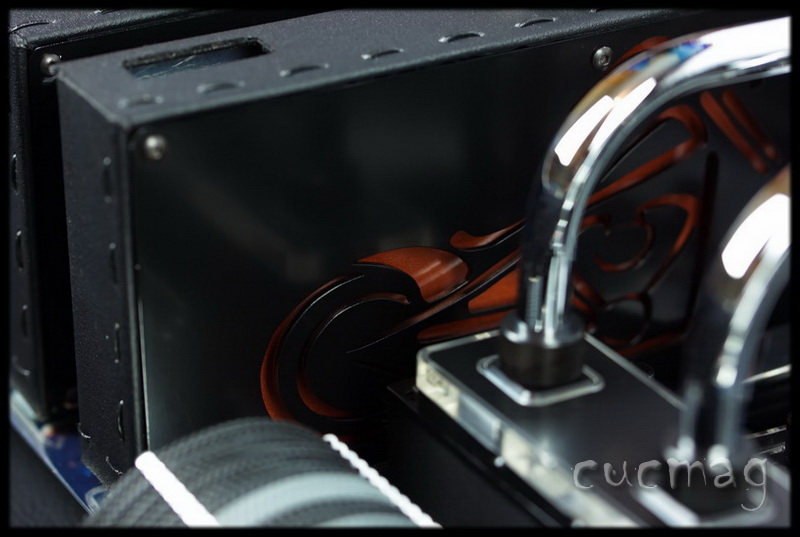
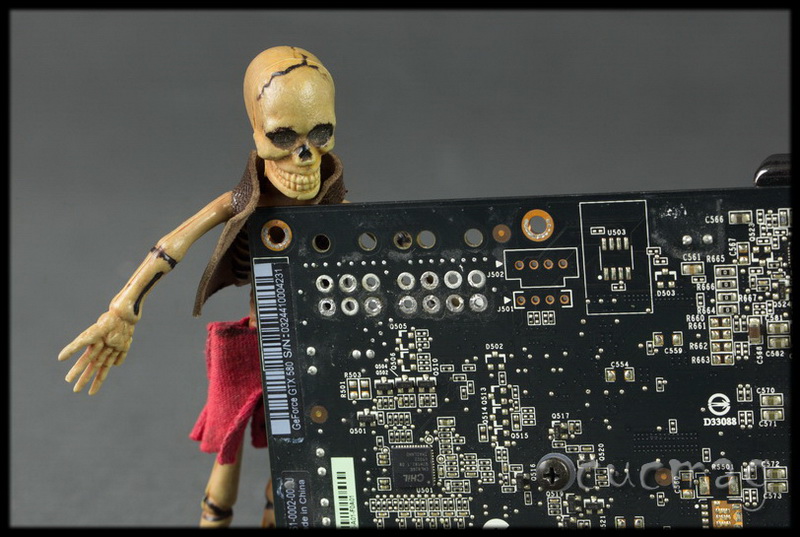
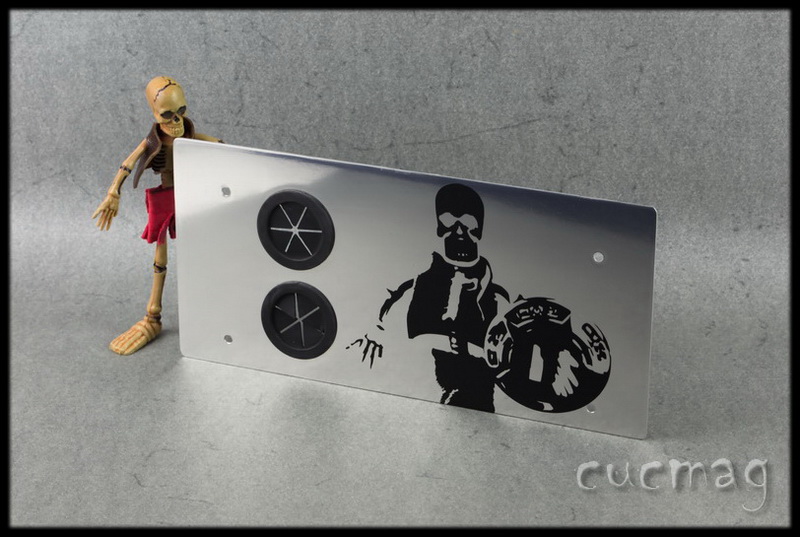
- "to manage the lighting in terms of hardware "
OK! we may as well turn off or turn independently lighting waterblock memory, CPU waterblock, the graphics card, motherboard and the backlight HDD
- "the account is "


Resized Image

a la prochaine
cucmag cucmag
  • Discovered the hairdryer
  • Discovered the hairdryer
  • Joined: 2014/6/4 0:37
  • From Bayonne (France)
  • Group: Registered Users
  • Posts: 121
  • Offline
  • Posted on: 2016/7/4 19:02
Re: [Workblog] DeskJack by Xray #22
hello
- "hello friends "
we near the end, right?
- "we are not far "
what is the daily menu
- "power support "
okay! it takes place in the desk on the backstage side
- "we have a folded aluminum plate with a 90 ° angle "

Resized Image

- "on which we cut out the rear location of the power supply "

Resized Image

we add the holes for the unit fixing points
- "absolutely"

Resized Image

- "a small test of implementation of power supply "
just to check the correct position of mounting holes
- "I tell them...."
which was slightly adjust those famous holes
- "well .... as you say.... "

Resized Image

- "then we spotted the center of the power supply fan "
in order to properly position our plate from the opening we have practiced in the desk
- " "
which allows us to adjust the power supply compared to the desk

Resized Image

- "the cut is made "
we finish adjusting the plate to the dimensions a vent side block
- "we leave more plate on the side of the ventilation to allow attachment of the support at desk "

Resized Image

we check up with power supply again
- "history of adjusting a bit this opening "

Resized Image

- "then we make the holes so to be able to fix the bracket to the desktop background "
three up and three down
- "better ensure the fixing ..."
you are right! the block is not light

Resized Image

- "even if the power supply will not see ..."
we give it a lick of paint
- "It's more finished "

Resized Image

- "a bientôt "
Edited by cucmag on 2016/7/9 10:14:17
cucmag cucmag
  • Discovered the hairdryer
  • Discovered the hairdryer
  • Joined: 2014/6/4 0:37
  • From Bayonne (France)
  • Group: Registered Users
  • Posts: 121
  • Offline
  • Posted on: 2016/7/6 8:21
Re: [Workblog] DeskJack by Xray #23
hello
- "Hey !!! "
power supply said....
- "said cable "
today is the day of the wiring
- "of all sorts "
and here we present you?
- "adapter with 3 sockets 2-pins on one side "

Resized Image

and....
- "and ....oh purée!!!!"
well, Xray! you hold not on your feet

Resized Image

- "so I said, of 3-pin socket at the other end "
and it is for?
- "connect the LEDs present on graphic cards and SLI bridge "

Resized Image

and there?
- "this is the hard work "
a long cable!
- "we'll make our 24-pin extension "
ah! we do not directly use the power cable?
- "not this time"
OK!
- "connecting the extension is under the tray of the motherboard and then the power supply is in the hidden part of the office ... "
and especially that we did not want to annoy us with the twin wire :hrhr:
- "perfectly !!! : so this is the wire 18 AWG"

Resized Image

- "we cut to the desired length "
how much?
- "24 "
but not... I want to say the length?
- "I do not remember .... enough to go taking the motherboard and go under the tray to meet at the opening under the desk "
then it is clear

Resized Image

-"then it is the crimping stage "
with the clamp that goes

Resized Image

- "well, there I brought some equipment "
I see it!

Resized Image

- "and then a glass of water "
I am not thirsty....
- "no, perhaps not, but I feel that it will be hot "

Resized Image

oh s**** yes!!!
- "ah! you see "

Resized Image

- "don'tworry, after the 12th you do not feel the heat "

Resized Image

24 wire after ....
- "24 sleeves up "

Resized Image

- "we put the plug 24-pin ATX in place "

Resized Image

What is the metal parts?
- "cable comb "
nice metal gray side
- "and then it gives a good finish "

Resized Image

and we put ....
- "as you want "
okay ....
- "all depends on the visible part of the cable actually "
here is clear !

Resized Image

another cable ???
- "yes!"
it is particularly this one ?
- "we recover on another power supply "

Resized Image

and that is ???
- "I give you a clue ... "

Resized Image

you can bring you so I can see what you have in your hands !!!
- "It's close enough "
PCIe plug?
- "won !!! "

Resized Image

we will make extensions for graphics cards!
- "Yes, at least in part :think:"
in part???
- "I thought about...."
wow
- "..... I dug my brains for cables graphics cards ...."
and !!!
- "I think it did a lot of cables to set up !!!?"
it! with two cards that have, in addition, two each plug ....
- "that's a lot of people ....."
so....
- "I think it will take too much space on the cards ..."
and so...
- "So I attack directly to the connector maps "
downright !!!

Resized Image

- "yeah sir "
you desoldering plug !!!!
- "yeah sir "
and you resoldered cables instead !!!
- "yeah I dared "

Resized Image

- "It is in a fiddled cables "
for sure! 6 + 8 for each card!
- "you can not just say 14 "
I can, I can

Resized Image

now I see why the flat cables
- "It's easier for them to walk along the water block "

Resized Image

- "double-sided tape on one side and is covered by chatterton "
that remains is to create a broad opening on the bracket
- "and passed the different cables before setting up the plug "
the thing is not to miss in the place of each wire in the socket
- "Fingers crossed ...."

Resized Image

a bientôt
cucmag cucmag
  • Discovered the hairdryer
  • Discovered the hairdryer
  • Joined: 2014/6/4 0:37
  • From Bayonne (France)
  • Group: Registered Users
  • Posts: 121
  • Offline
  • Posted on: 2016/7/7 19:18
Re: [Workblog] DeskJack by Xray #24
hello everyone
- "hello company "
back in the hidden desk area ....
- "right! there we have the power supply ..."
and we also have the radiator
- "a radiator 480, without forgetting the pump "
so for the radiator, we have 4 to 120 mm fans
- "Yes...."
and we realized the support of all to secure the bottom of backstage
- "exact! we have already achieved the opening on the floor behind the scenes and we now need this aluminum plate "

Resized Image

I see you have not lost time
- "Oh, it's just 4 holes "
very round hole!
- "this is my little secret "
are you going to show us ....
- "what say !!! I use a hole saw 116 mm !!! it ever !!!!"
  too easy to make him talk ....

Resized Image

- "you need a good drill for use as the hole saw on the aluminum ...."
the material tends to slow down the race although the saw ....
- "It forces on the drill !!! "
good, in any case, we realized our holes for fans

Resized Image

- "We have some fans "
but even if we see not ....
- "we will not let this...."

Resized Image

- "not that much to do ..."
just change the label
- "beautiful labels theme Harley "

Resized Image

that's better
- "efficiency and aesthetics"
for something that is under the desk
- "Yes but we know "

Resized Image

- "allez zou! next!!!"

Resized Image

go ahead! please! continues
- "we take another aluminum plate "
we cut ...
- "it seems so ... "
okay ....
- "we cut to the dimensions of the radiator, at least one of the fan sites "
and inside?
- "inside we must let the air flow though "
Oh! I wait to have all the explanations

Resized Image

- "besides to optimize the air flow, we put spacers between the radiator and the plate "
small spacers!
- "just 5 mm"

Resized Image


- "we fix the plate "
and the pump?
- "ah, yes we made 4 holes, we tapped M3 "
ah ben voila! if you do not tell us everything
- "and then we put the vinyl on top of the plate "

Resized Image

ah! why??
- "boh ... why not "
okay ....
- "we set the pump "
nothing to add ....

Resized Image

- "bah! at least let me finish !!!"
oops !!
- "intercalates rubber grommets to absorb vibrations

Resized Image

before installation in the desk, we strive to orient the pump outputs
- "It's done "
in that case! to the next!
Edited by cucmag on 2016/7/9 10:15:05
cucmag cucmag
  • Discovered the hairdryer
  • Discovered the hairdryer
  • Joined: 2014/6/4 0:37
  • From Bayonne (France)
  • Group: Registered Users
  • Posts: 121
  • Offline
  • Posted on: 2016/7/9 10:10
Re: [Workblog] DeskJack by Xray #25
hello
- "hello everyone "
today is the day of what is not seen
- "why show it :dunno:"
I asked myself the question
- "we show then "
much to see again

Resized Image

- "okay .... a plate with two holes ....."
round two holes
- "with a stepped drill nothing easier ...."
you want me to you the blow of copper Belgom ....
- "so little .... "

Resized Image

a DeskMod is fun!
- "Yes...."
but do not forget a stupid thing ....
- "and it's ....."
we need at a time, connect the cables behind the motherboard
- "whence the plate!"
right
- "it will serve as a hatch for access to the connectors on the motherboard "
like that of the graphics card
- "and the holes for the cables "
Here
- "So let these grommets "

Resized Image

- "finish is more correct as well "
we will push even finish a cut above "

Resized Image

- "hh but that's me !!!!"
the shadow of yourself anyway
- "I am protecting the hatch behind the scenes "
 
Resized Image

then we have the watercooling ....
- "Yes ... we saw quite a few items about the concept "
and we need that!

Resized Image

- "those are??"
they are fill port
- "two ??"
it diverts one for emptying

Resized Image

all happens behind the scenes of desk ....
- "we cut a plate to fix one of them"
the width of the backstage

Resized Image

we fixed the fillport before mounting in the desk
- "we will have to play the hand to connect all the circuit "

Resized Image

- "It is normal that I am still with the same plate ...."
yes .... I have no more pictures on hand
- "Ok ... so we create the same plate for the desktop background, always behind the scenes to drain the circuit "
basically that's it

Resized Image

- "another thing that is not seen ...."
this plate
- "Wow !!!! it goes where ????"
under the desk
- "at the hardware part "
yes!
- "I think that the transfer of vinyl was not an easy task "
I have indeed fought for slightly smaller pieces
- "and we sign the DeskMod "
it is indeed the idea

Resized Image

fewer pictures on the end of mod ...
- "because the desk is left with our friend ..."
the next post unveils the world of DeskJack
- " "
see you soon!
cucmag cucmag
  • Discovered the hairdryer
  • Discovered the hairdryer
  • Joined: 2014/6/4 0:37
  • From Bayonne (France)
  • Group: Registered Users
  • Posts: 121
  • Offline
  • Posted on: 2016/7/9 10:13
Re: [Workblog] DeskJack by Xray #26
hello
- "cuckoo "
we saw the waterblock ....
- "the radiator...."
the pump....
- "anything is missing to link these people "
pipe!!!
- "for this mod are rigid pipes that we will use "
copper pipes
- "exact, a section 10/12 mm "
I see you prepared them
- "Yes with pliers for bending !"

Resized Image

at the beginning we wanted to leave the tubes with their copper appearance to remind the Copper Edition theme Harley ...
- "but when we looked on the engine ...."
there is more chromium than anything else
- "we have kept some copper tubing to connect the tanks reminder of the real tank of the motorcycle copper :thumbsup:"
and in this case, to make them shine ???
- "I must polishes ...."

Resized Image

- "I continue to rub again and again ...."
oh yes.....
- "Yes! it takes patience and a lot of energy ...."
it is well known that the skeletons have many muscles ....
- "and if you want you give envy, you can do it!"
and you get to what ....
- "looks a bit this result !!!"

Resized Image

....
- "Hey it's not all talk but I still have a few to shine "
but not Xray !!!! you really think we believe in your feat ....
- "but look! some aluminum Belgom and hop is the result!!!
Xray ...... you could shine copper, either! but you could chromer just by rubbing it with Belgom ....
- "ah, no .... it does not pass ... it's too big ...."
a little ....
- "well okay !!! we used a chrome plating business to take care of our tubes "
that's better

Resized Image

- "otherwise I want fill that space above the back of the motherboard"
why not...

Resized Image

I realized three small holes "
on the desk!
- "rather in the desk "
superb decor

Resized Image

- "nan but ... that's the name of the bike "
like the graphics card!
- "Yes! our friend bought two we were not going to let the second in its box "
I also see that you have taken the concept of the graphics card
- "that is to say?"
sewing with leather thread
- "Ah yes indeed I find it not bad !"
and then it prevents the faux leather does not come off
- "better safe side "

Resized Image

++
cucmag cucmag
  • Discovered the hairdryer
  • Discovered the hairdryer
  • Joined: 2014/6/4 0:37
  • From Bayonne (France)
  • Group: Registered Users
  • Posts: 121
  • Offline
  • Posted on: 2016/7/9 11:58
Re: [Workblog] DeskJack by Xray #27
hello
- "hello friends "
Xray where you are !!!
- "on the desk! why this question!"
ah! we go to the final?
- "almost "

Resized Image

almost????
- "this is my last appearance before revealing the amount of pictures you made !!!"
ben as usual! you know that the finish is done without you Xray
- "then I change habits "
ben tiens ....
- "I reveal little bits but with me on the photos "
okay .....
- "there! you acknowledge cousin "
and behind you, a strip of LEDs
- "Yes RGB, with, available for our friend, an RF remote to toy with the band LEDs! "


Resized Image

so here everything is in place!
- "Yes!"
watercooling filled
- "Yes! "
the PC is connected
- "Correct so here I am between two of the three reservoirs"
these are XSPC Photons with the central cylinder with an orange LED
- "Here, we have kept the copper pipes that we gloss "

Resized Image

- "I shifted around to see the third tank "
we see one of conchos
- "the input and output tubes go directly to the back wall to move from side of backstage "
and there is crossing point with the hardware compartment

Resized Image

- "here we are now in the hardware compartment "
near to the CPU cable
- "with me behind the Harley logo and the model name of the bike of our friend "
we begin to see the backlight too
- "the one present below the fairing of the motherboard "

Resized Image

- "I am in the heart of the system "
copper pipes give way to chrome tubes
- "the backplate of the graphics card features the stylized cutting Harley Copper Edition "
LEDs play with acrylic parts of the waterblock

Resized Image

- "while I play on the reflections of polished aluminum edges to the extreme "
you can not resist contemplate your reflection
- " "

Resized Image

- "desk is called DeskJack but that you knew "
I think so
- "that's all for my participation ...."
that's all!!!! you do not watch more !!!
- "I did not say I was going to reveal everything "
okay! that's teaser....
- "this is the idea but I would not make too much shade at either desk by my presence "
ah! okay! we thank you

Resized Image

a bientôt
cucmag cucmag
  • Discovered the hairdryer
  • Discovered the hairdryer
  • Joined: 2014/6/4 0:37
  • From Bayonne (France)
  • Group: Registered Users
  • Posts: 121
  • Offline
  • Posted on: 2016/7/10 9:38
Re: [Workblog] DeskJack by Xray #28
Hello
as expected, Xray is not the party for the final photos
given the number of photos I will introduce them by "category"

The following photos are without the lighting device.

external view of the Desk and reservoir compartment

Resized Image

Resized Image

Resized Image

Resized Image

Resized Image

Resized Image

Resized Image

Resized Image

Resized Image

Resized Image

Resized Image

Resized Image

Resized Image

Resized Image

Resized Image

Resized Image

Resized Image

Resized Image
Edited by cucmag on 2016/7/10 10:08:19
Edited by cucmag on 2016/7/10 10:14:12
cucmag cucmag
  • Discovered the hairdryer
  • Discovered the hairdryer
  • Joined: 2014/6/4 0:37
  • From Bayonne (France)
  • Group: Registered Users
  • Posts: 121
  • Offline
  • Posted on: 2016/7/10 10:07
Re: [Workblog] DeskJack by Xray : Photos Finish #29
Hardware Compartment

Resized Image

Resized Image

Resized Image

Resized Image

Resized Image

Resized Image

Resized Image

Resized Image

Resized Image

Resized Image

Resized Image

Resized Image

Resized Image

Resized Image

Resized Image

Resized Image

Resized Image

Resized Image

Resized Image

Resized Image

Resized Image

Resized Image

Resized Image

Resized Image

Resized Image
cucmag cucmag
  • Discovered the hairdryer
  • Discovered the hairdryer
  • Joined: 2014/6/4 0:37
  • From Bayonne (France)
  • Group: Registered Users
  • Posts: 121
  • Offline
  • Posted on: 2016/7/10 10:43
Re: [Workblog] DeskJack by Xray : Photos Finish page 3 and + #30
Backstage


What we never see

nn the plate where we see the fillport, we have the RF module for RGB LEDs stripe

Resized Image

to close the circuit, we use flexible pipes (more practical anyway :blush to squeeze through the maze of backstage
we see the pump placed above the radiator 480
the fans are placed below taking the air under the desk (always backstage side)
we create a grid on the rear wall of the desk just above the radiator whose dimensions are the length of said radiator
we perceive this under the pipe which runs on the rear edge

Resized Image

we then have the power supply on her support
the backsatege have their own ventilation with a fan at each end
the airflow is in the direction of power flow

Resized Image

Resized Image

we have the right door after feeding on which stands guard Xray

Resized Image

a locking system lets keep it closed
it leads directly to the motherboard and graphics card connectors
we store a maximum number of cables on the backstage to optimize the air flow

Resized Image

The second trap is below the hardware compartment
secured by thumbscrews 6

Resized Image

still under the desk, we have the Backlight control panel to control the LEDs located in the hardware compartment

Resized Image

which brings us to the photos with lighting up
Re: [Workblog] DeskJack by Xray [Build Logs / Projects] - ocaholic